
Is it possible to stay healthy and eat heartily on the trail?
Pull up a chair. Take a taste. Come join us. Life is so endlessly delicious.
Have you ever taken a close look at the nutrition labels on pre-packaged backpacking food? My eyes popped at just the amount of sodium, some providing nearly 50% of a daily allowance. And – to paraphrase an old joke – the portions are too small.
For the past six years, I have cooked up my own backpacking food, dehydrated it and placed the crumbly contents in vacuum-sealed bag. It’s more economical to make your own food, takes less packaging and you control the ingredients.
But in recent months, Richard and I have been following the cleansing diet Whole30 with incredible results – loss of cravings, more balanced energy, better sleep and, for me, zero menopause symptoms.
I also found I no longer had a desire for coffee, which is a huge plus when backpacking as in the past it was imperative that I make time to fire up the stove and heat up a cup of Joe or headaches would set in.
On summit mornings, that can sometimes prove awkward, and I’ve been known to swallow cold coffee out of a Nalgene hiking up the mountain. Bitter, but life-saving.
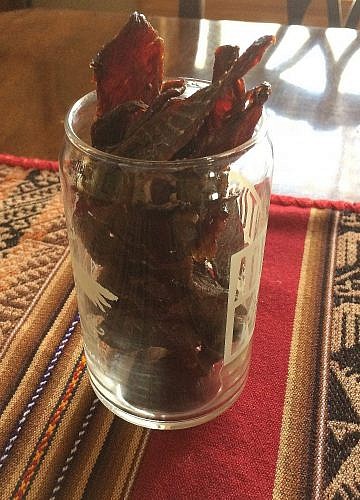
Grass-fed and organic meat marinated in garlic, vinegar, coconut 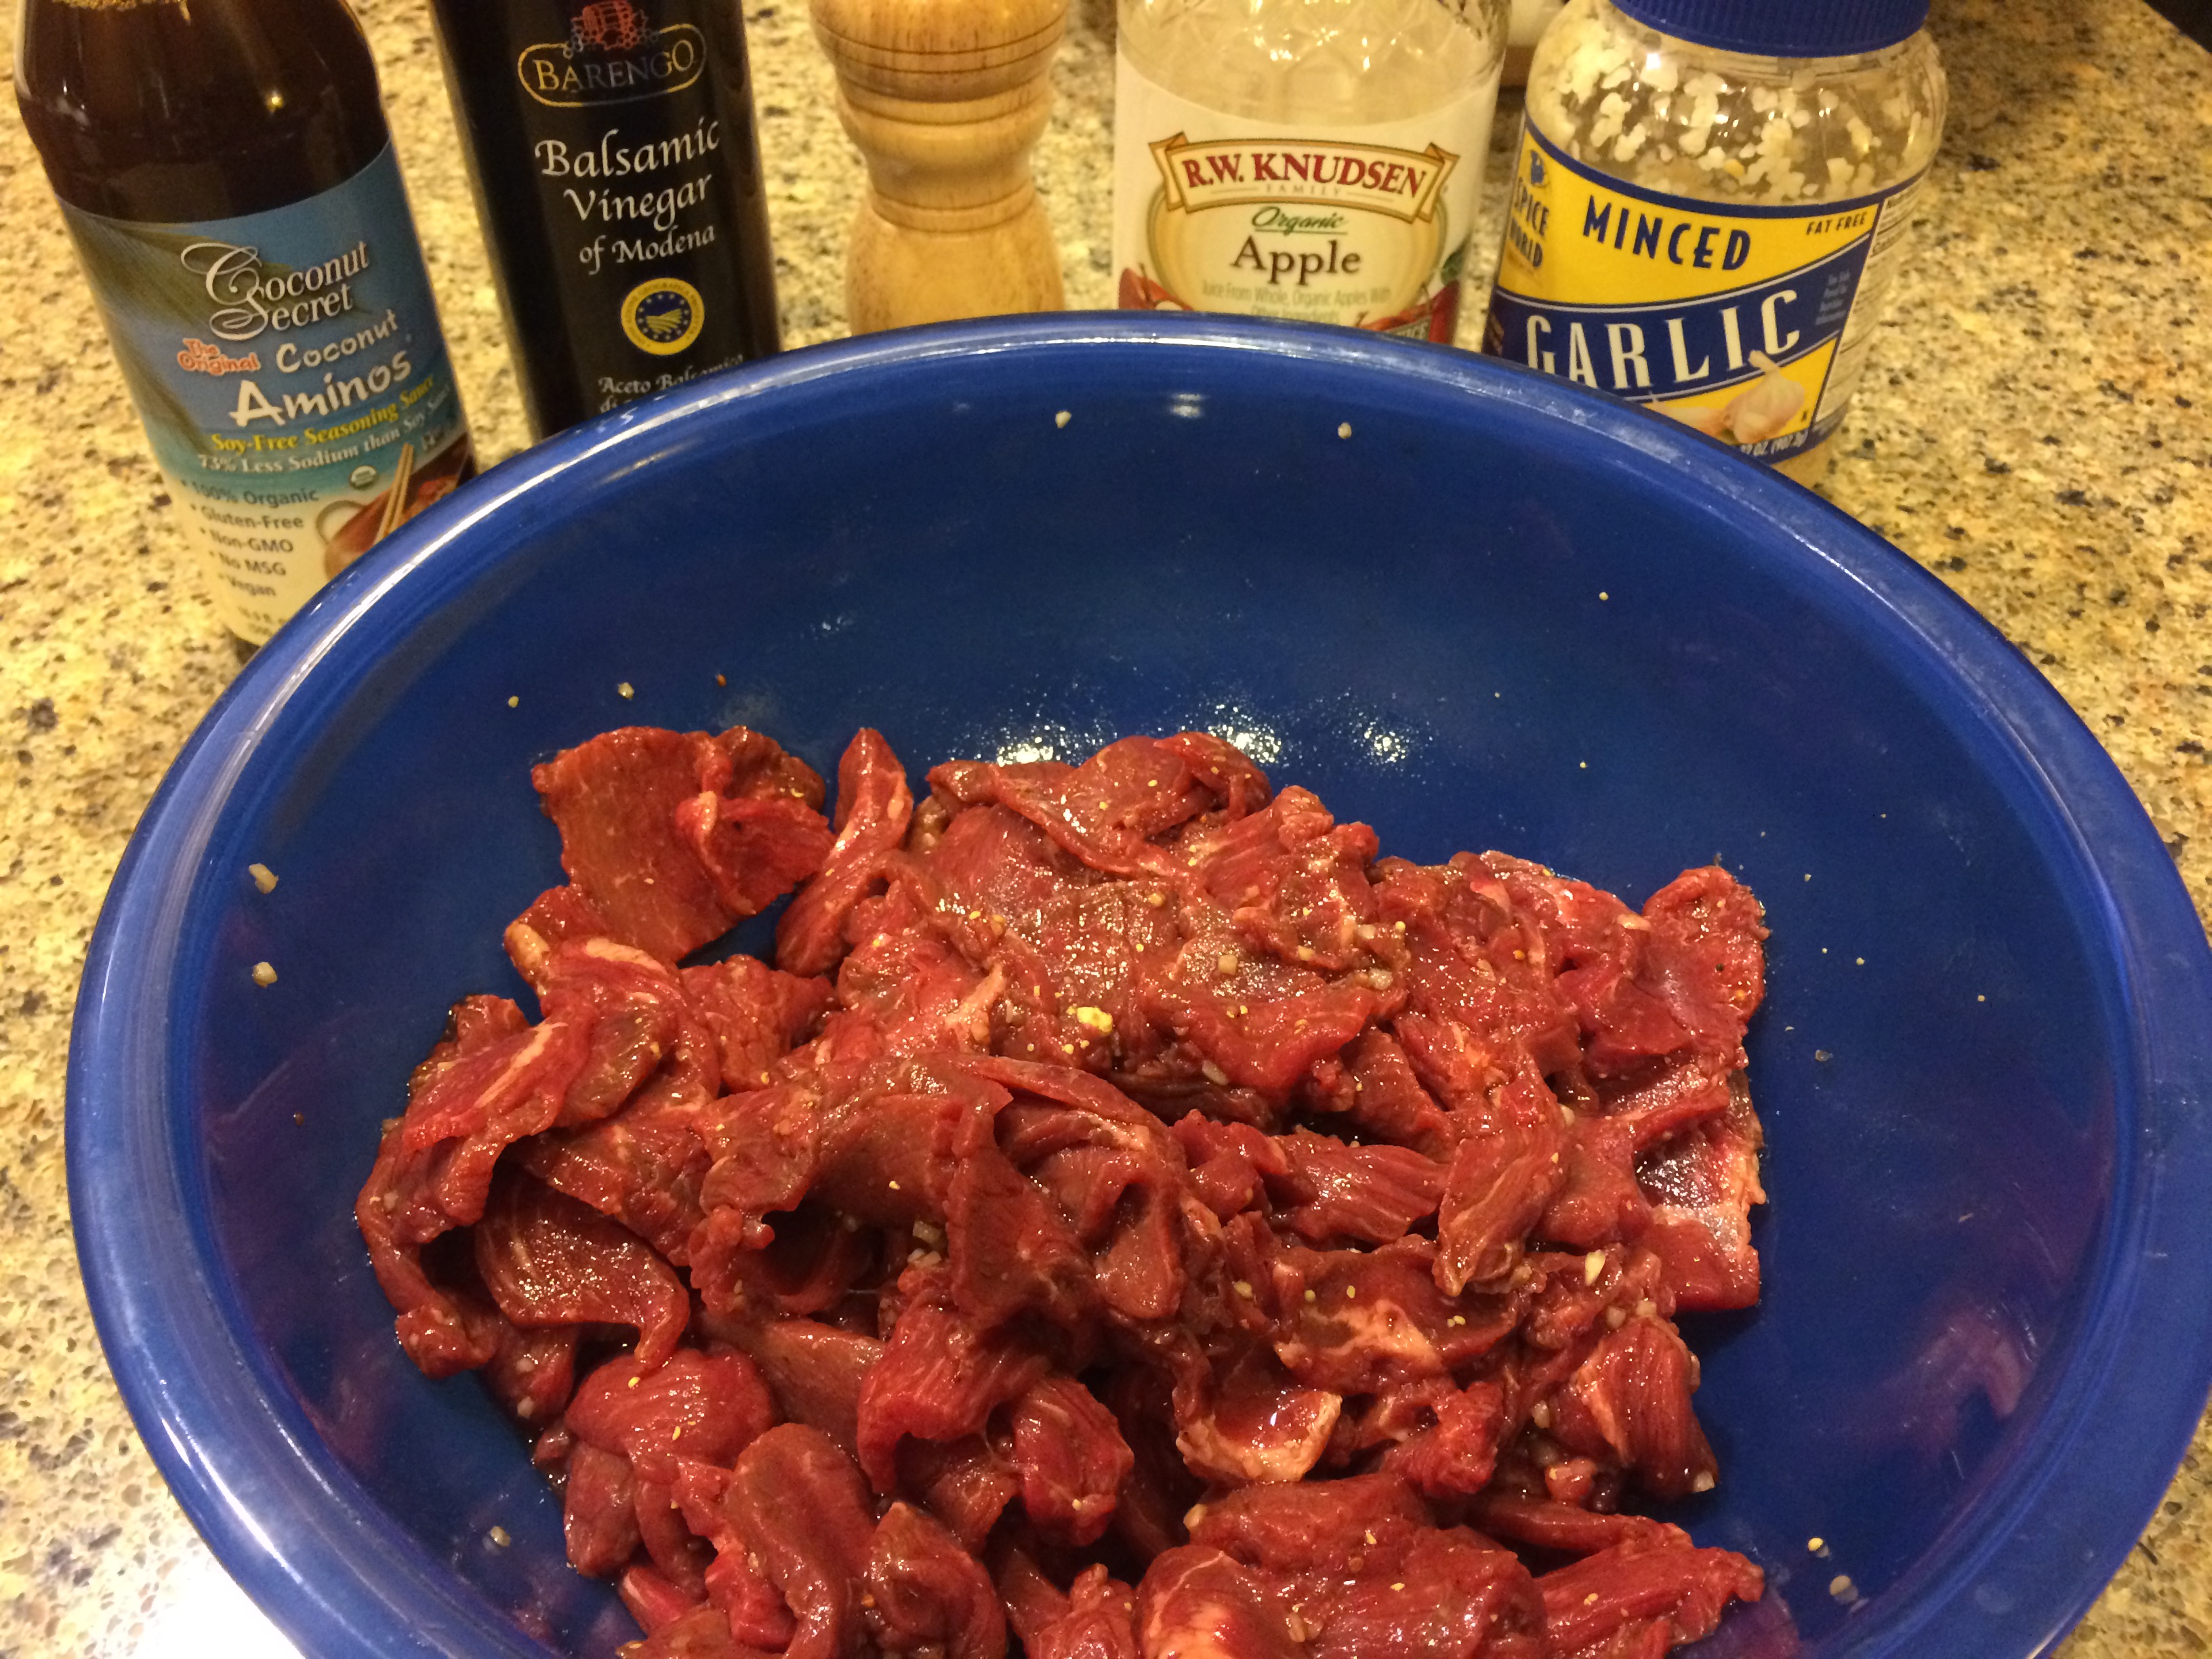
Naturally I want to feel this good on my next hike, but the question was how to cook? England’s Coast-to-Coast passes through many towns, so resupply is not a critical issue, but I always like to take four to five days’ worth of food in the event stores are closed or I just feel like getting off a plane, a train and a bus, hiking straight up a hill and camping in a field like I did on the GR5 in France.
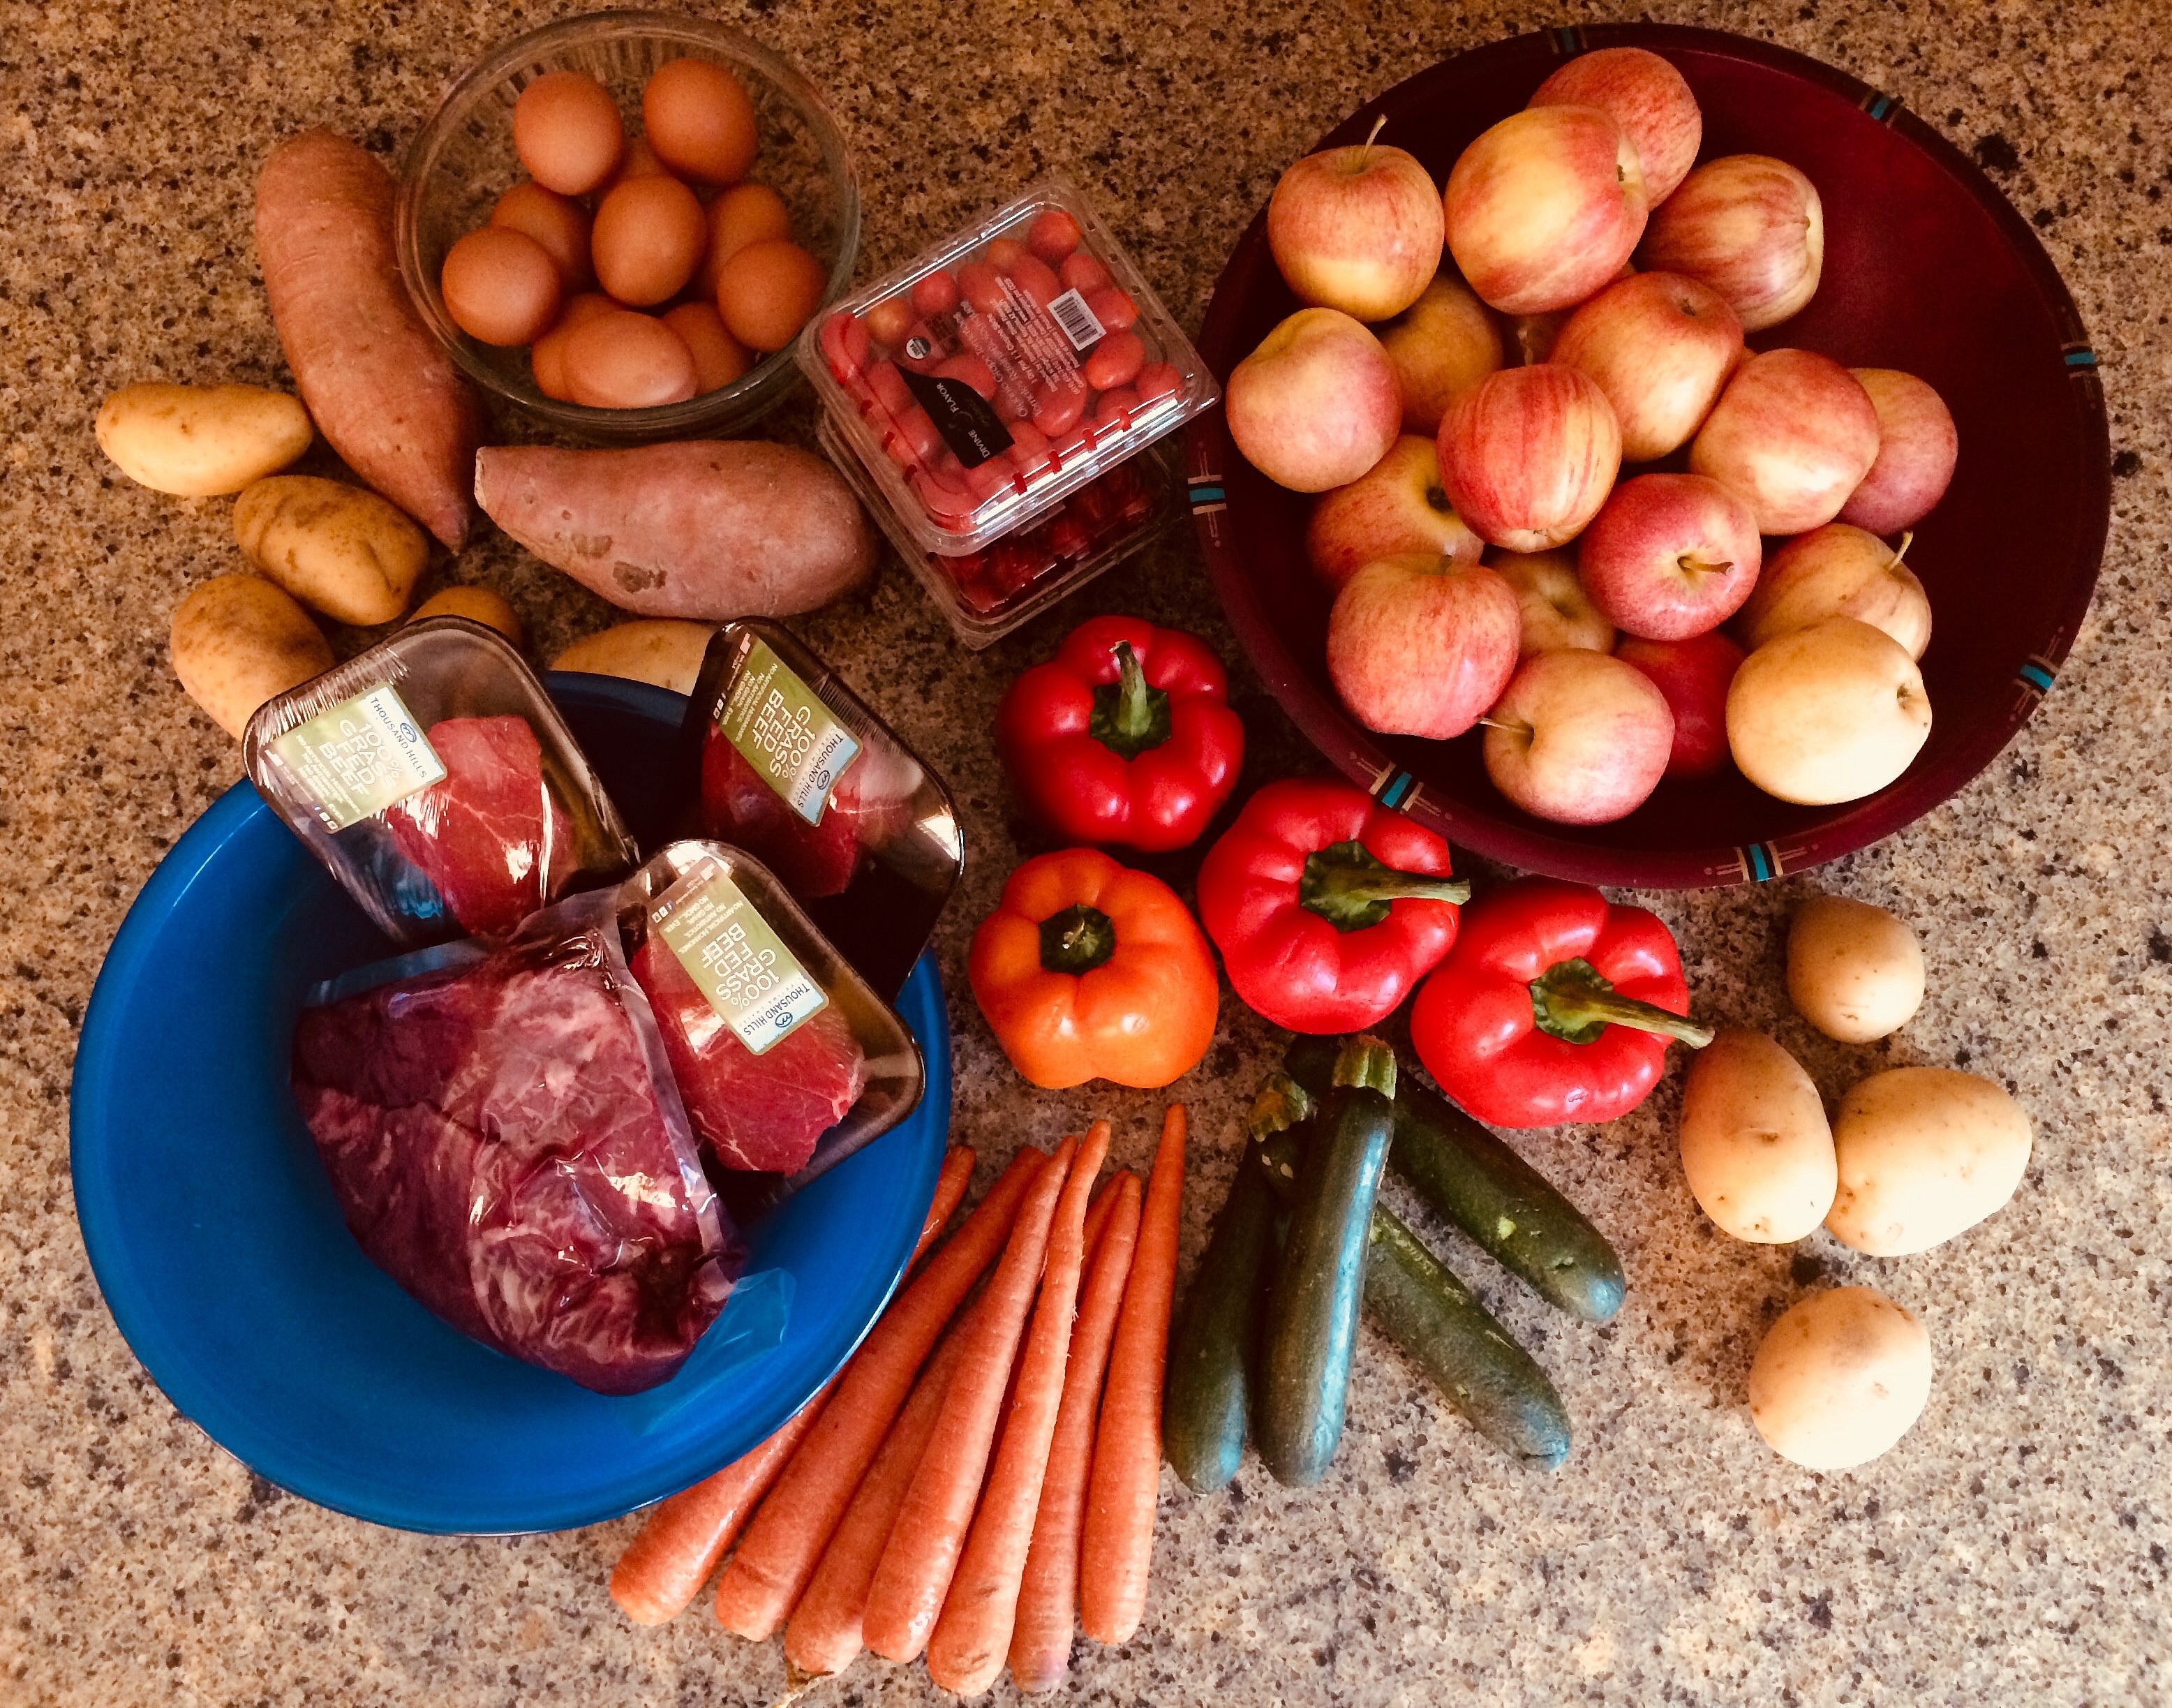
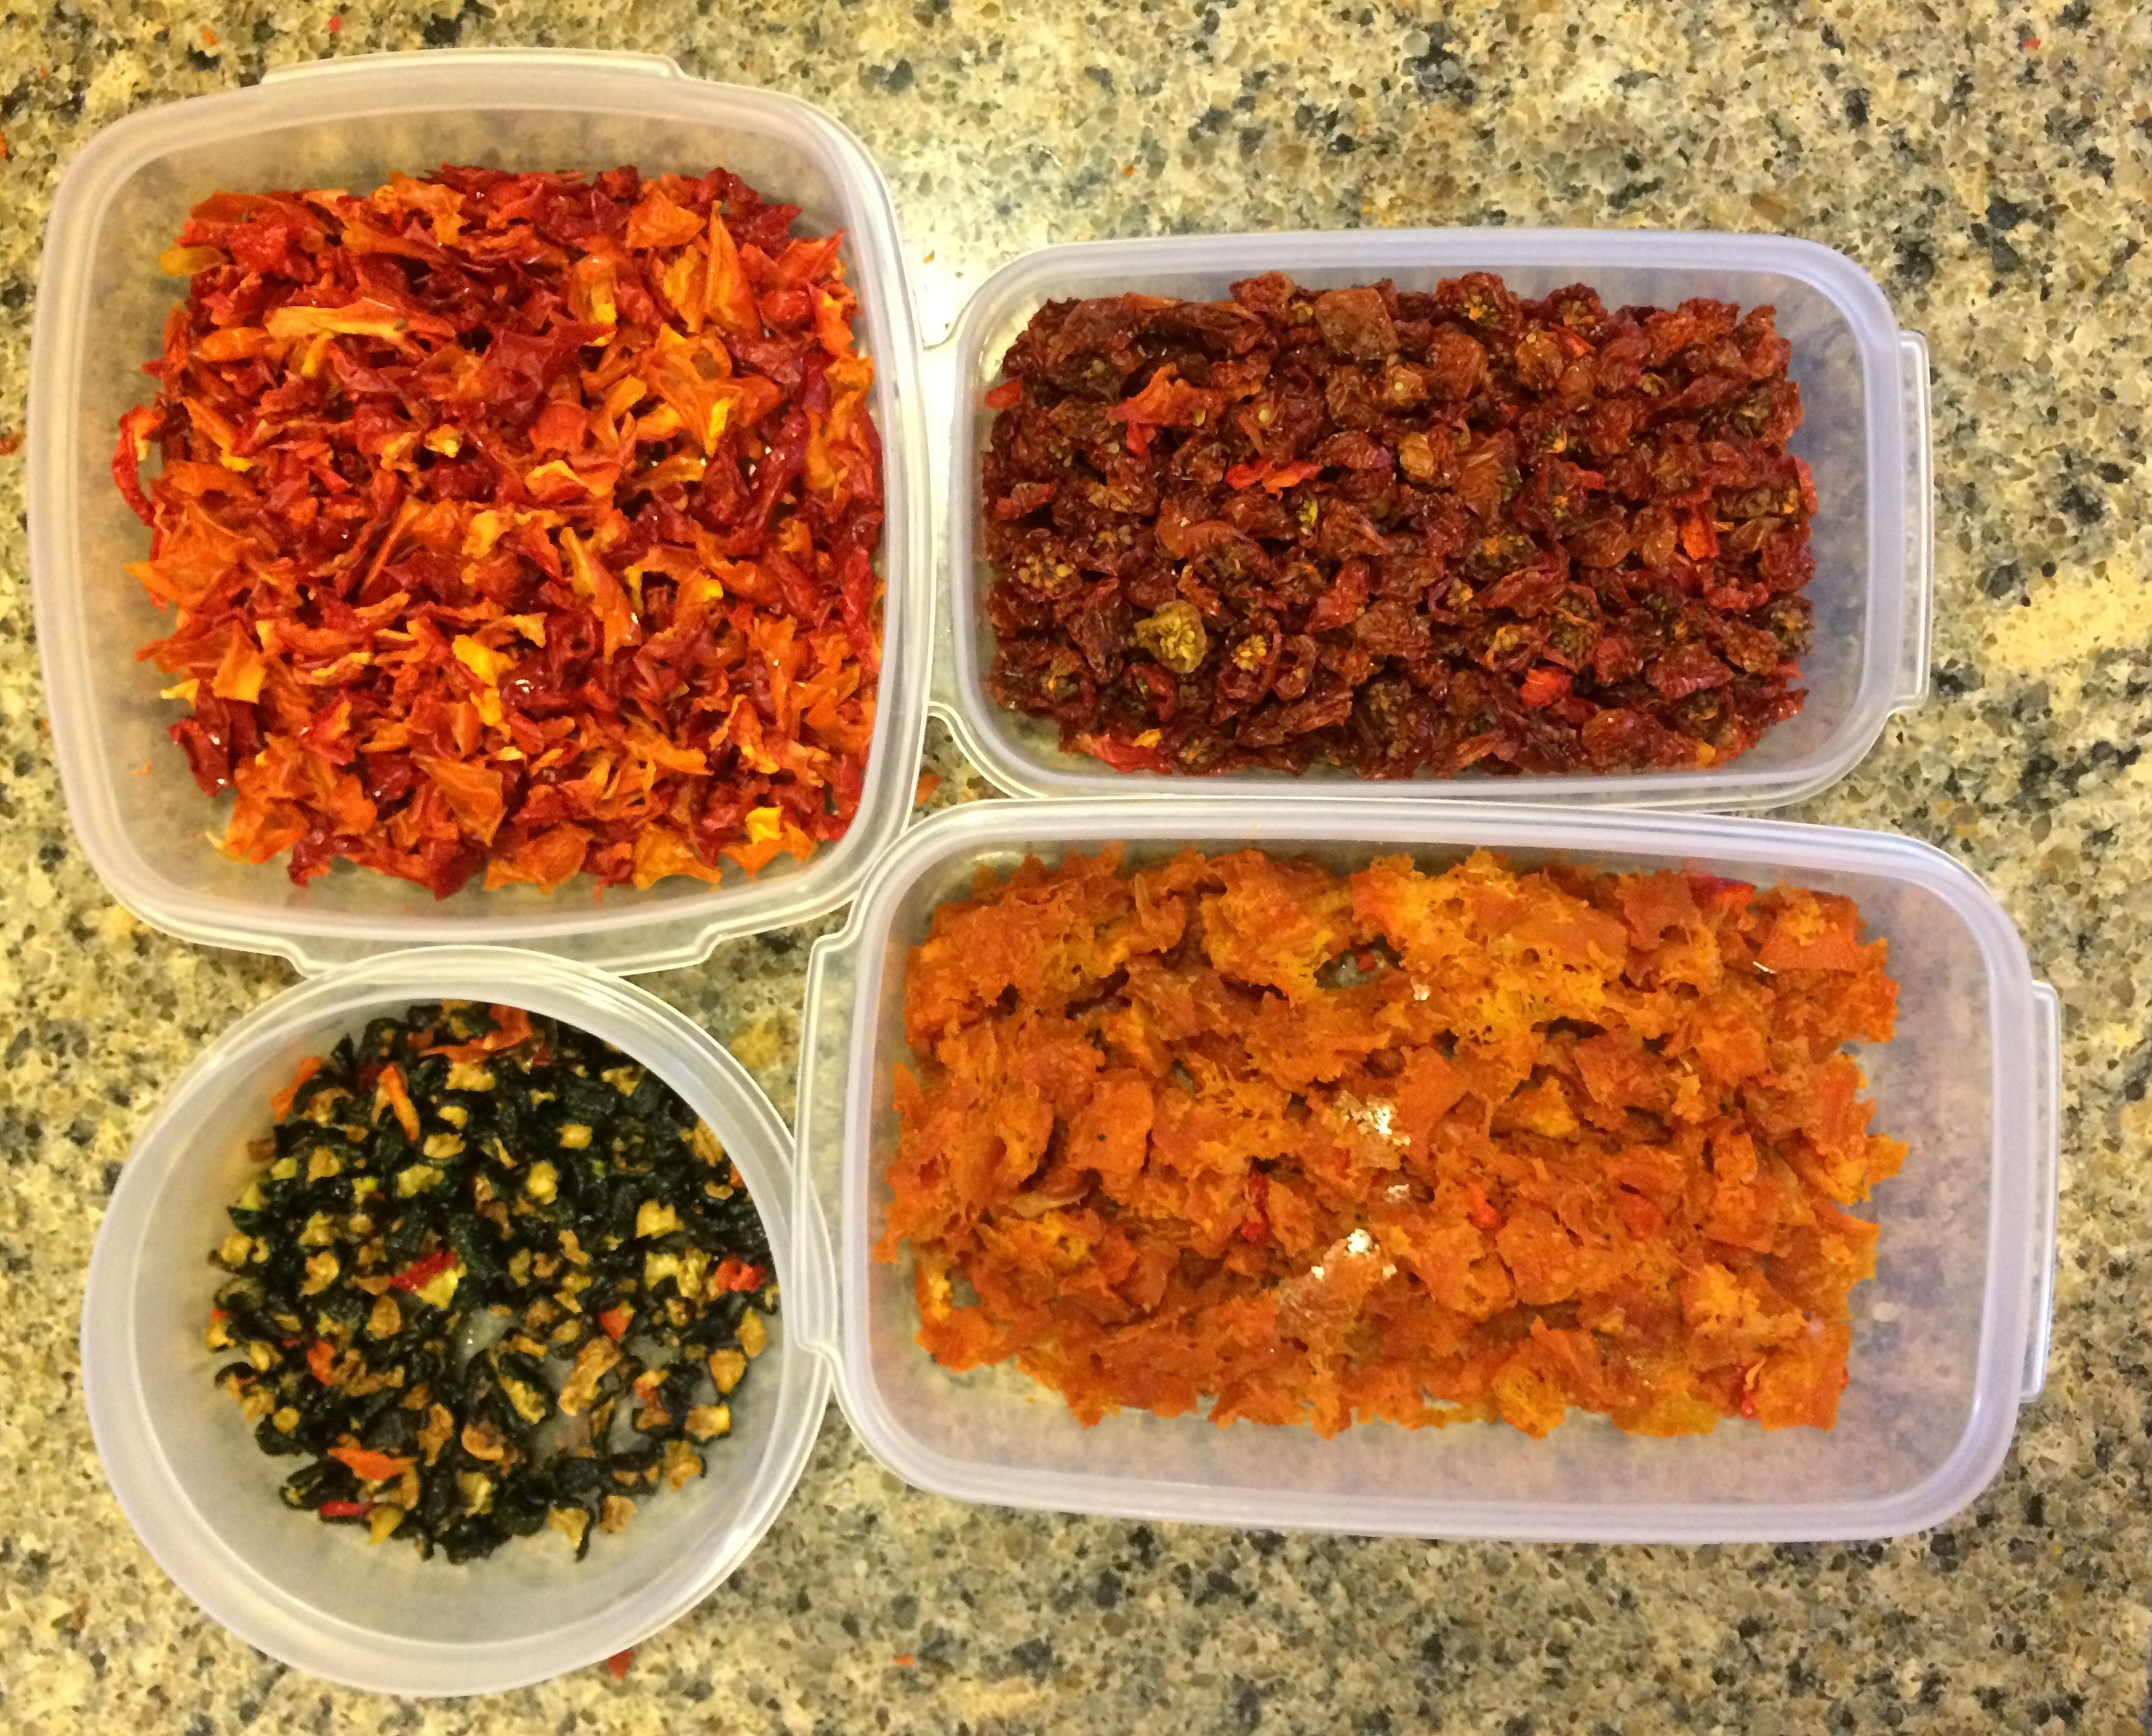
In the past, my usual staples included brown rice, quinoa and sometimes grits and oatmeal, all off the list these days. Protein and vegetables is the name of the game, so this time around, I am trying something new, drying ingredients rather than one-pots.
And it’s a lot of ingredients!
- Red and orange peppers
- Carrot
- Zucchini squash
- Butternut squash
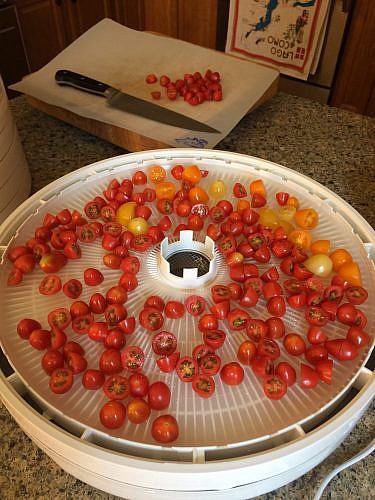
- Tomatoes
- Broccoli
- Sweet potatoes
- Yukon potatoes (mashed)
- Apples
- Eggs
- Beef
- And probably far too many coconut larabars.
Here’s what’s needed to make your own:
I use the Nesco 1000-watt Garden Master dehydrator with eight trays and extra screens. I realize there might be stronger dehydrators on the market, but mine seems to work well enough, though I have always put the temp on full-blast.
Pro tip: only use the screens for liquid or liquid-ey items that might pour through the trays, like the eggs and mashed potatoes.
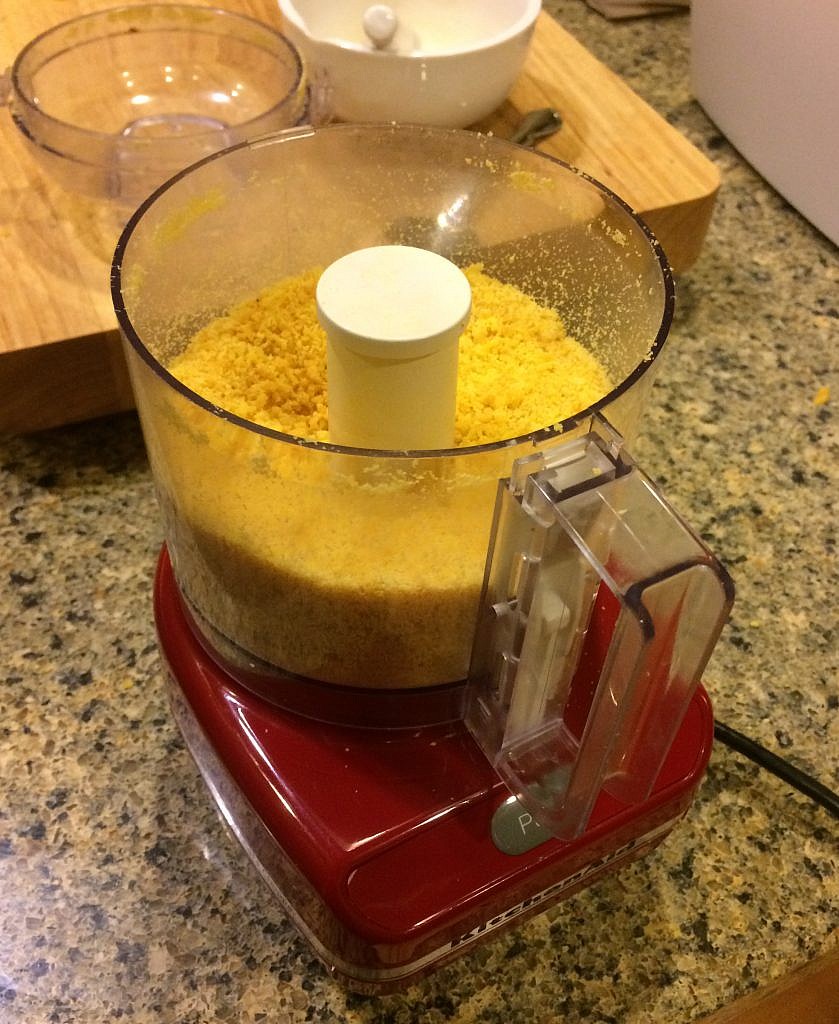
Food processor. I have a mini Kitchenaid food processor. Every year I promise myself a larger one, but somehow just don’t get around to it. Making the larabars took many extra steps, but one blade – even if small – chops the same. The eggs need to be pulverized to dust and trying to do that with mortar and pestle was frustrating to say the least. It was a dream in the food processor.
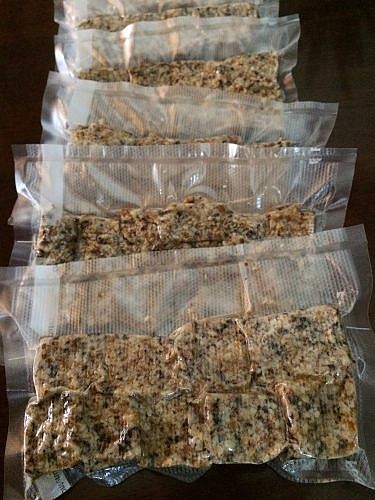
Vacuum sealer: I have been using a Food Saver vacuum sealer for six years with no complaints. I cut varying sizes of bag from a long spool. You will need to heat seal one end first. I do not suggest buying the bags with a port. A friend tried these and found small particles of food gumming it up. In my experience, if the bag springs a miniscule leak – with no food escaping, but air entering the bag – the food is still safe to eat. If you are nervous, you can always cook the food to sterilize.
How it’s done:
The easiest fruits and veggies to dehydrate are those that require no work at all. Frozen veggies – like corn, carrots and peas – can be poured right out of the bag onto the trays and come out as perfectly dried “marbles” after about four hours.
I made it as simple as possible with the peppers, tomatoes, sweet potatoes and apples by simply cutting them into small bits – with apples, I cored them first, then made thin chips – and placing them on open trays. You can add salt to the tomatoes at this point if you don’t want to take salt on the hike
I added oil to the zucchini. Oil, of course, does not dry. In the past, I added oil to a stir fry and dried it for a one-pot. I am not entirely sure how the same will transfer. To be safe, I have taken the dried squash and placed it is an airtight container in the refrigerator before vacuum sealing. My nose will hopefully alert me to any trouble brewing on the trail!

For broccoli, I lightly steamed it before placing on trays. I roasted the butternut squash until soft, adding salt, pepper and olive oil. I make potato “bark” with Yukon potatoes. First boiling until soft, then mashing with salt, pepper, parsley, nutritional yeast, dried shallots, onion powder and a few cups of bouillon. The result is kind of lumpy, but once put into a soup, it has the texture and heartiness of pasta soup. Mix and match a few veggies, drop in a few pieces of beef and voila, dinner is served!
I bought the best cuts of beef I could find at our local co-op. Grass-fed and organic top round, sirloin and flank. You want cuts with the least amount of fat possible and should cut off any excess before drying. Fat can go rancid fast and that’s dangerous stuff on the trail. The first time I made jerky I was so nervous I would make my companions sick, I dried the meat for hours until it was so tough we could barely chew it. The taste was fine and it eventually broke down, but there is no need to create leather. The meat can have a slight tenderness. The key is to freeze the meat for about two hours before slicing, this way you get nice thin strips that dry quickly and are easy to eat – or add to the veggies in a one pot.
This was the first time I made powdered eggs. Easy as can be. Simply scramble a dozen eggs and place them on a screened tray to dry. It takes about 10 hours. All the oily shine needs to disappear completely before you pulverize the dried egg in a food processor to again avoid any problems with the fat becoming rancid. At camp. Simply add 1-2 tablespoons water to 2 tbsp egg and scramble back up.
Larabars are a real treat, sort of trail-mix-in-a-bar. Pulverize ¾ cups almonds and ¼ cup cashwes in a food processor. Dates work the best for sweetness, but I had prunes, dried cherries and dried apricots on hand, so pulverized 1 ¼ cups with the nut mixture adding ¼ cup of unsweetened shredded coconut and ¼ cup of melted coconut oil. The batter is pressed into pans and refrigerated for a day or two. Cut up bars and vacuum seal.

How will it go? I hope reasonably well by supplementing from local shops and an occasional pub visit. I am not super strict on Whole30 having eaten this way for nearly 70 days, but I love my energy.
Sadly booze is out, so not planning on any nips from a flask atop the “Haystacks” but I think the views themselves will give me a natural high.
Let’s hope…

One Response