If you’re offered a seat on a rocket ship, don’t ask what seat! Just get on.
Sheryl Sandberg
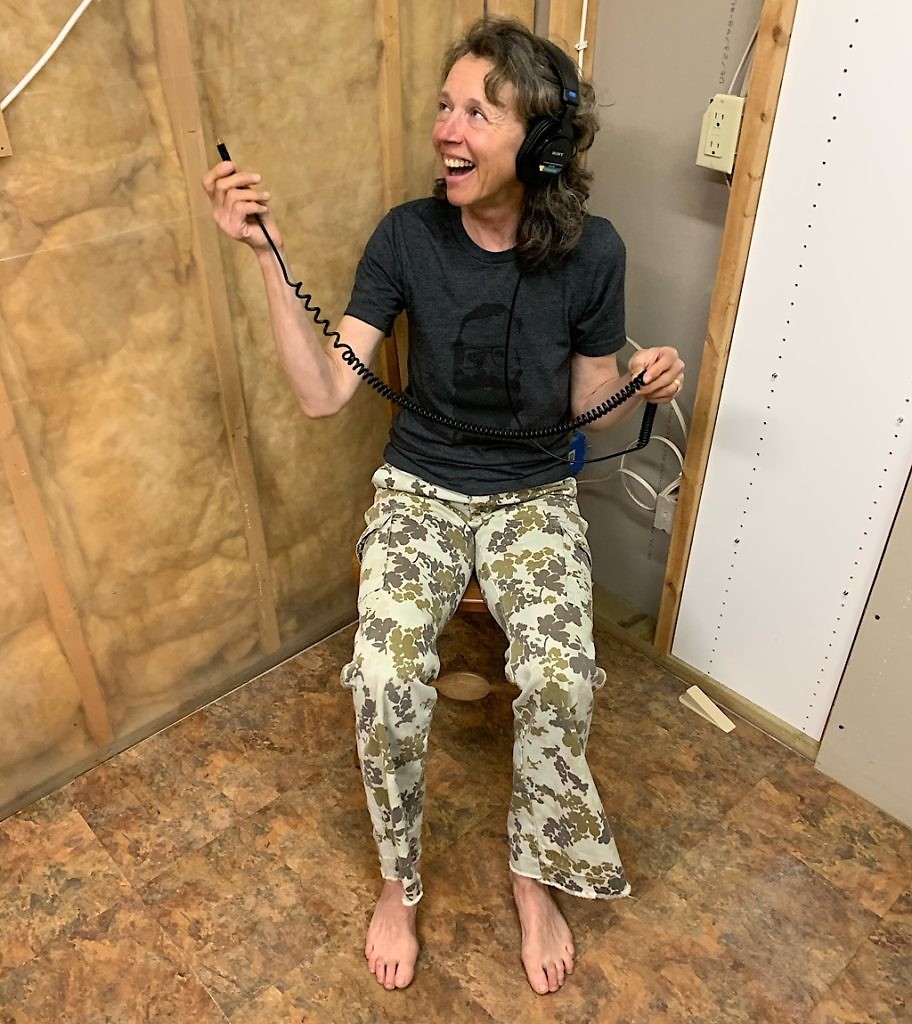
…and just like that, at exactly the moment when working at home became a necessary “thing,” construction of the voice recording booth – the blisstudio – reaches completion and is ready to launch already in flight!
what it took…
- 45 2×4’s
- 18 yards of fabric
- 15 4×8 foot MDF boards
- 10 saws
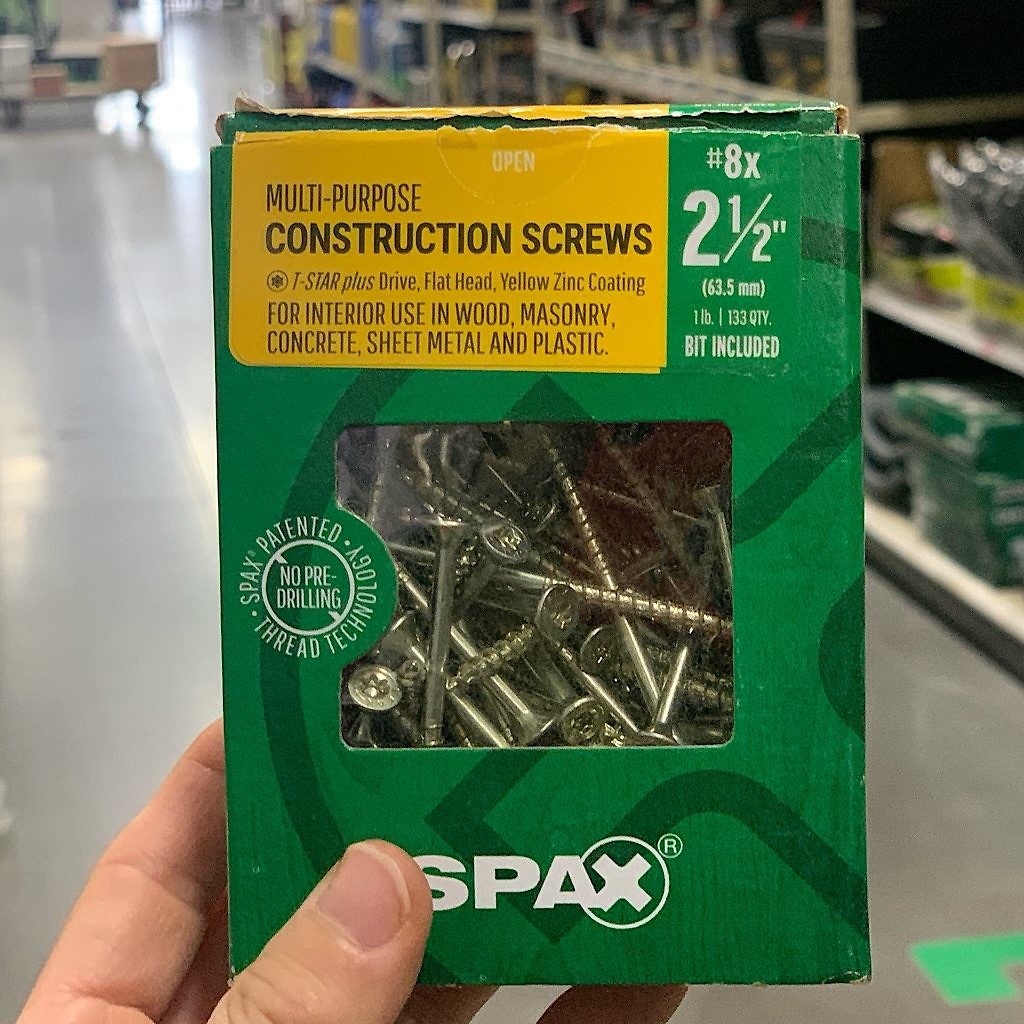
- 8 pounds of screws
- 6 3×3 foot 3/4 inch neoprene squares
- 5 1/2 bundles of rockwool insulation
- 2 mini computer fans
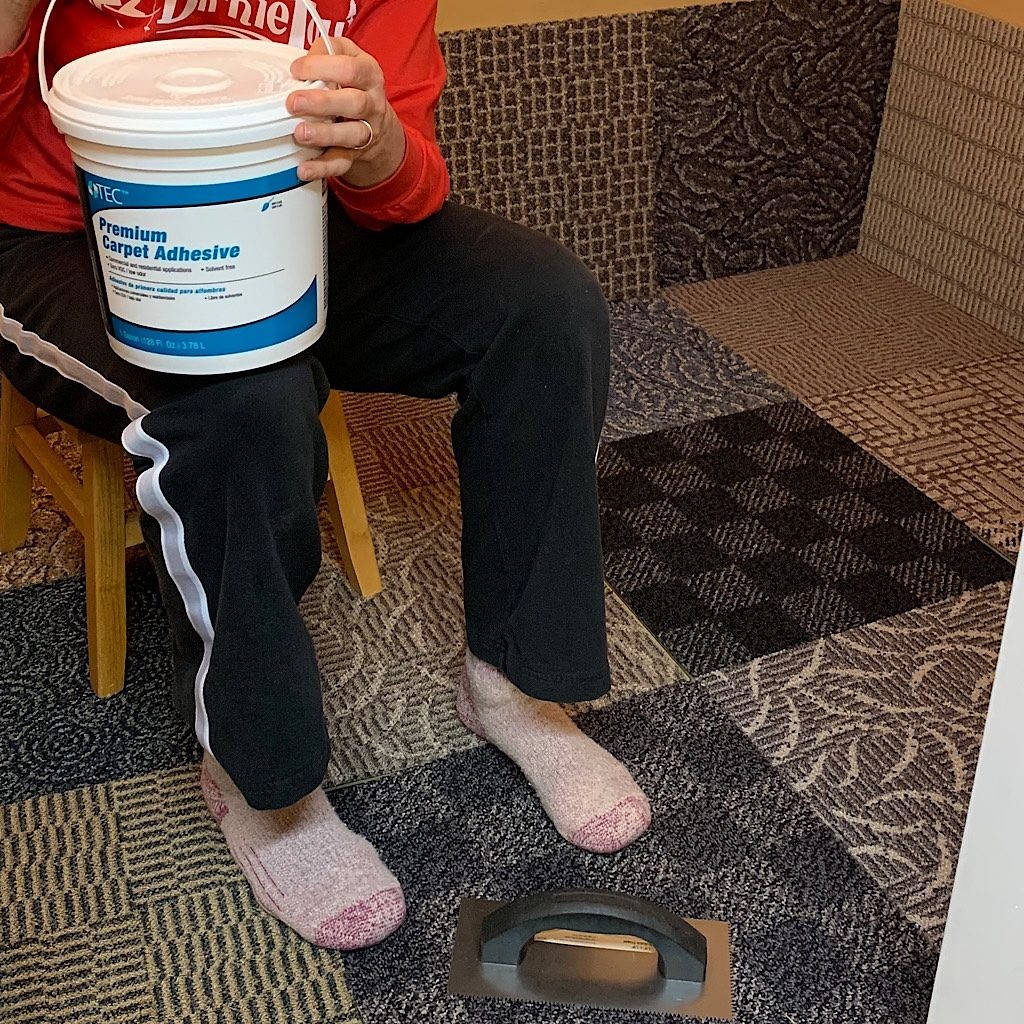
- 1 big bucket of carpet glue and a door knob
- and a bunch of other things I can’t remember just now
Most every weekend over the winter, Richard and I measured, cut, sawed, glued, and pieced together my beautiful working space, figuring it all out as we went. And boy, oh, boy, did we create a magical spot for me to play – building my voice over business, making audio narratives and audio program notes and dreaming up new ventures like creating a podcast.
Once we find ourselves on the other side of social distancing/safely-at-home/quarantine/ lockdown, I’ll invite ALL of you over to check it out, sign the wall and even record your voice! In the meantime, come inside and learn how she came to be.
room-within-a-room stud sandwich
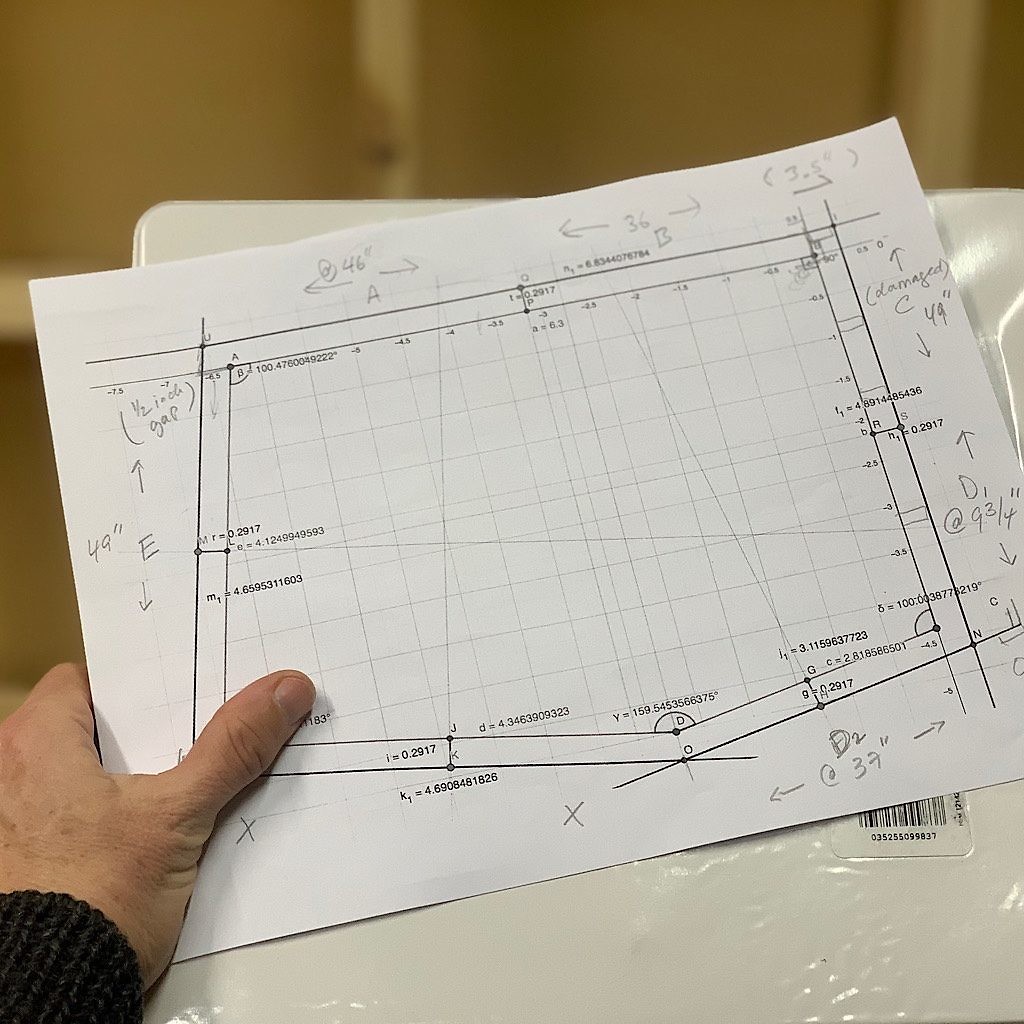
To be honest, I can’t remember if the genius with whom I cohabitate came up with a design first or simply figured it out in his head what we’d need in the way of lumber, screws, saws and other essentials before he drew up any plans.
We couldn’t find blueprints, but did manage to pick up tips from a couple of webinars online for building a room-within-a-room of a stud walls/ceiling/ floor sandwich filled with sound absorbing insulation.
From my years as a broadcaster, we knew some of the elementary rules, like the fact that a booth needs to be designed without parallel walls. This is to break up any standing sound waves. Richard calculated the odd angles, but to cut them – and fit them – would require a special saw.
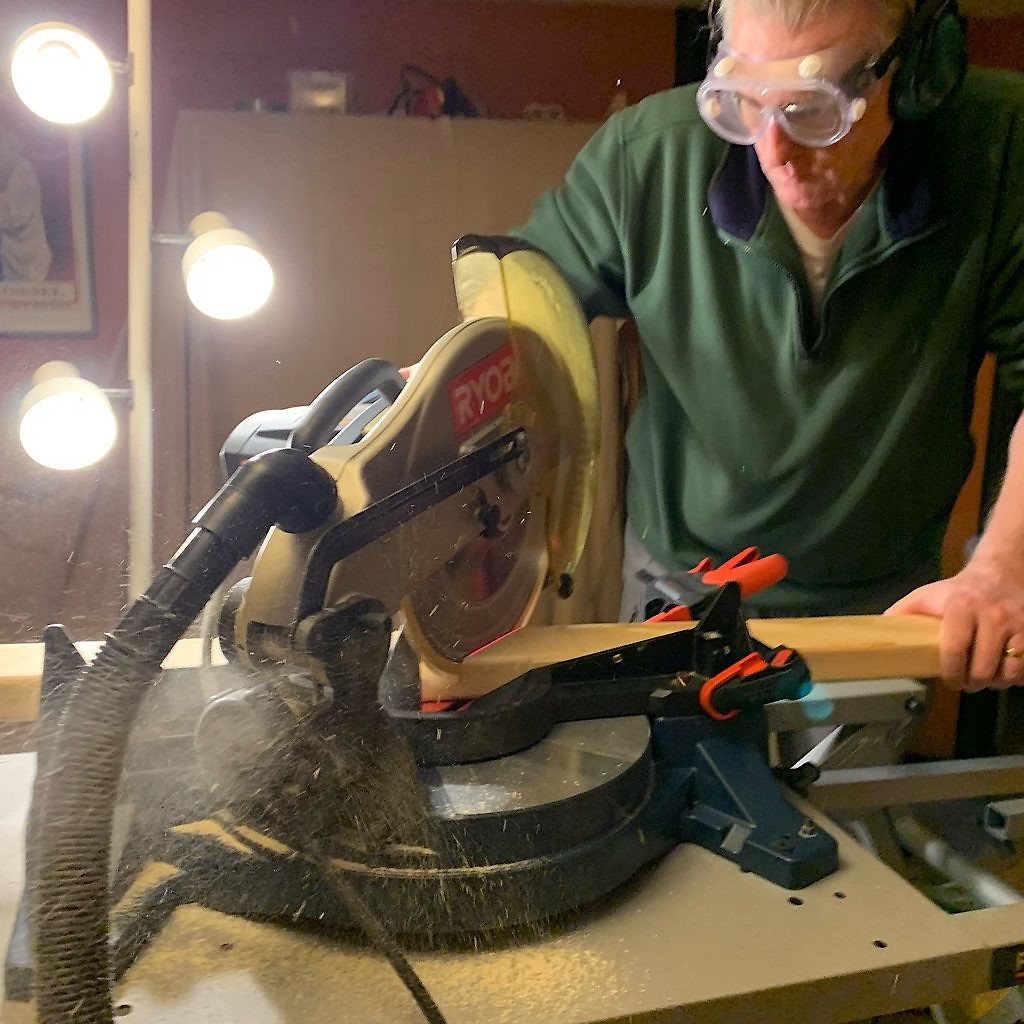
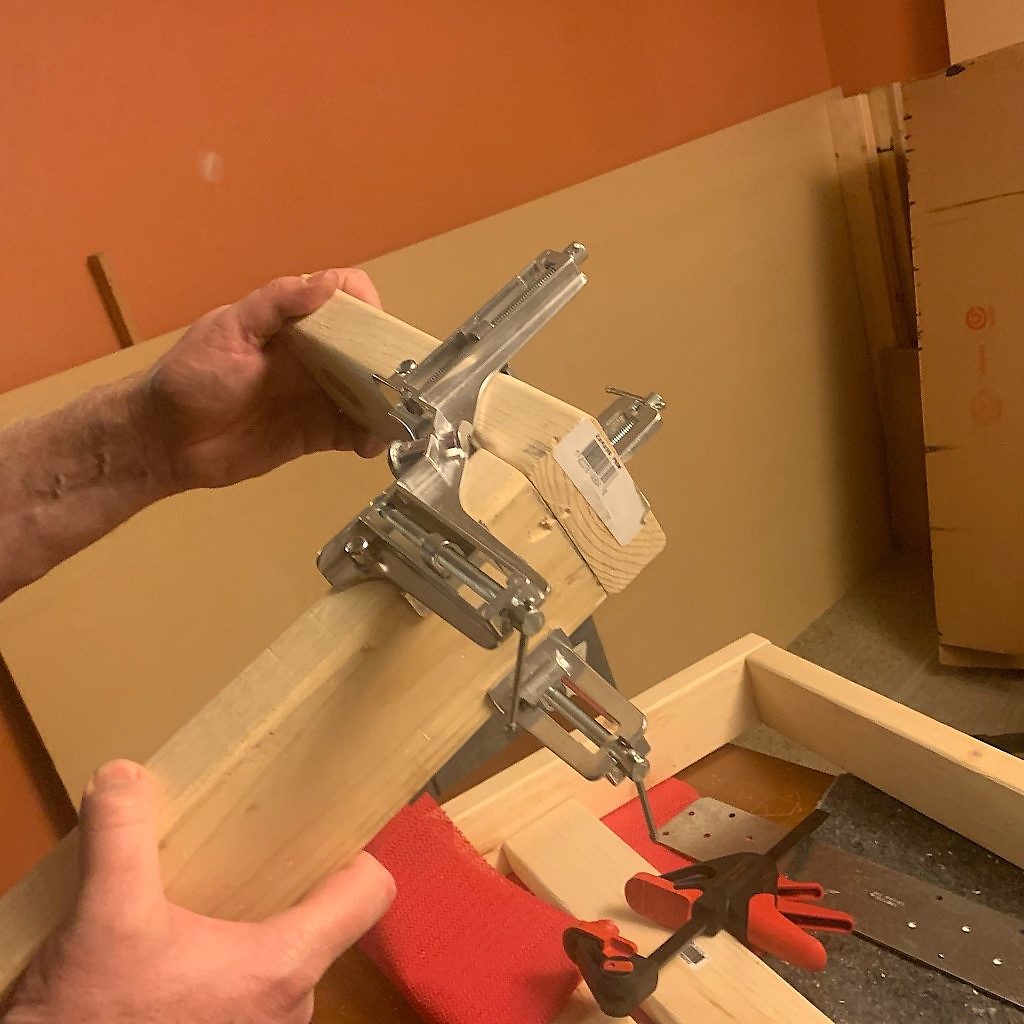
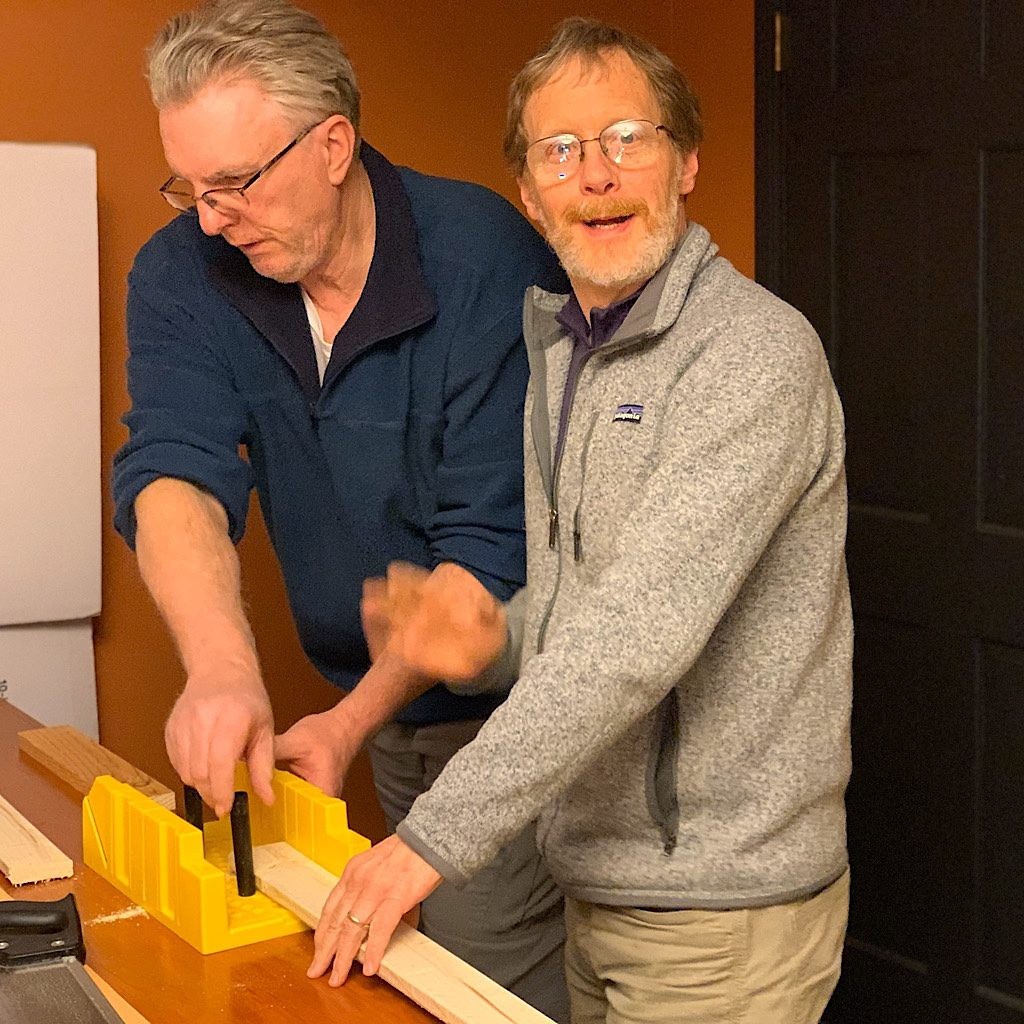
Early in the project, when the booth consisted of no more than a few pieces of masking tape on the basement floor, our friend Eric came by for dinner and rolled a massive mitre saw into the basement. What a fabulous tool that saw is! With two settings, you can to fashion wood into the wildest angles you might need and in different dimensions. By inserting a triangle wedge, we even extended its capabilities to 50-degrees.
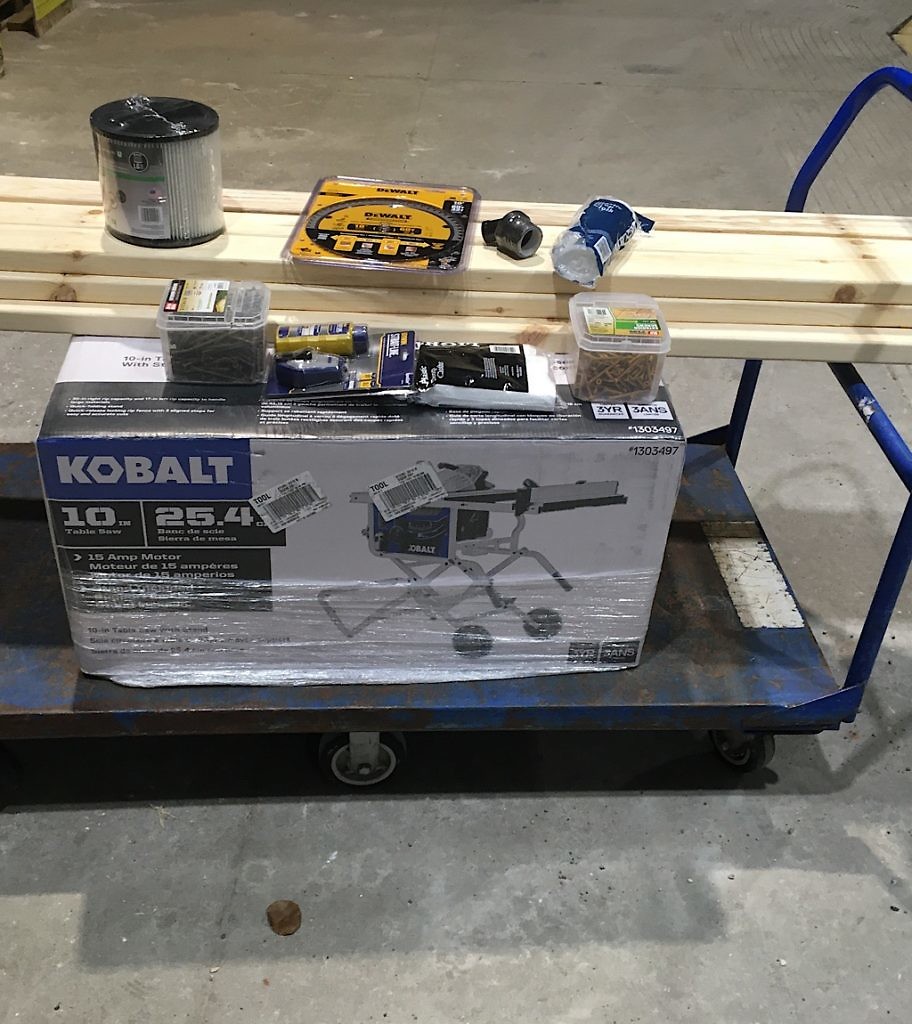
But just because we has this ultracool miter saw, we still needed something to rip the long boards. Richard swears he found a table saw on sale, hmmmkay.
DYI marriage therapy
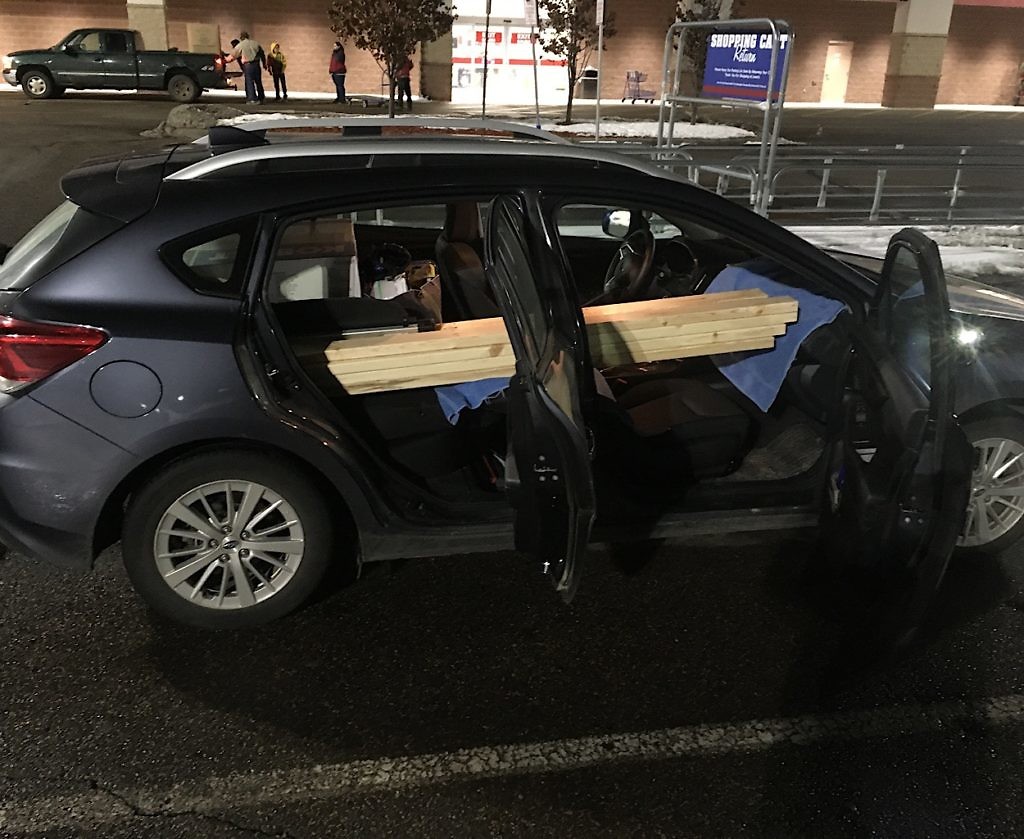
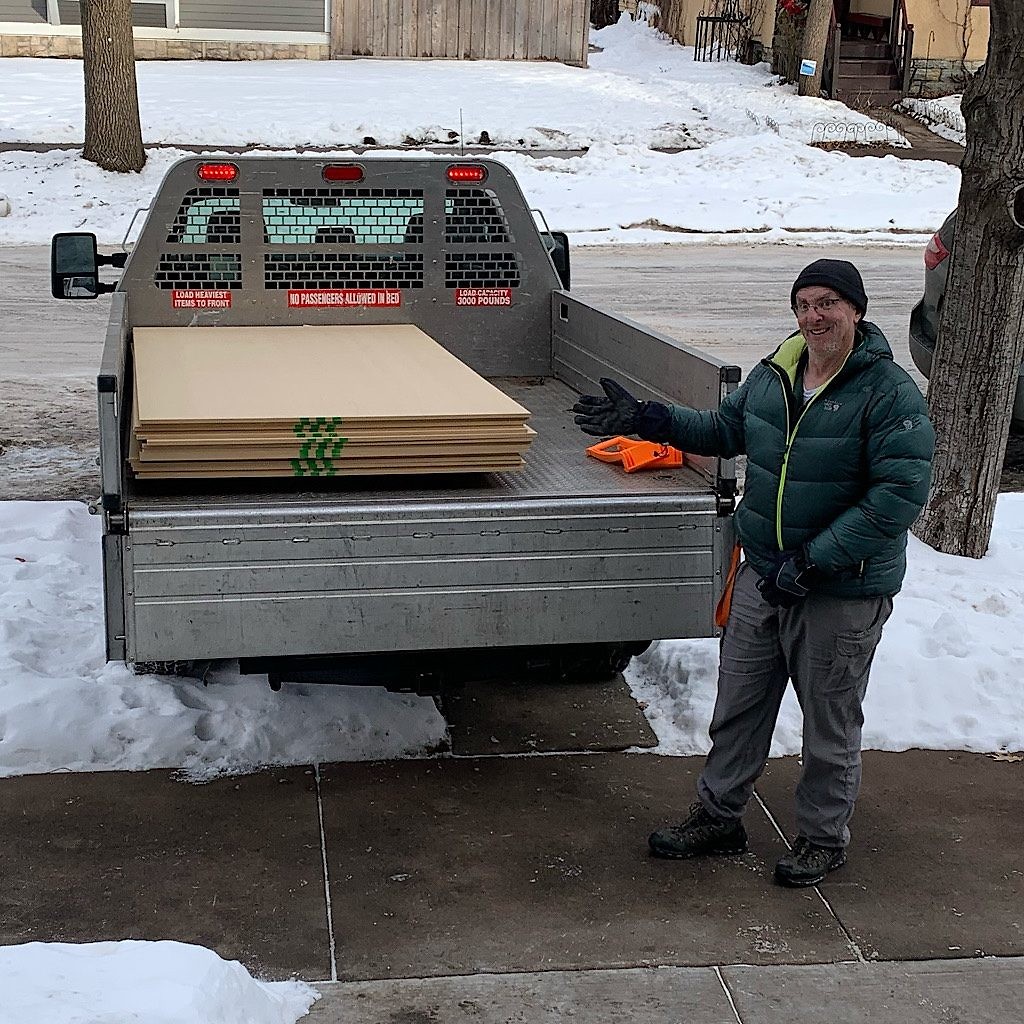
We dragged the new saw down to the basement along with lumber; lots and lots of lumber, which at first we squished into our wee Subaru. But unless we planned to transport the massive MDF boards we planned to use as siding (much better insulation than dry wall and easier to work with) and tie them to the roof of the car, we needed a truck. Richard rented one, loaded her up then drove everything home, pulling up onto a snowy sidewalk to make it convenient for contents to be emptied.
But just because MDF is better suited to a booth build, that doesn’t mean it’s light weight. It’s massive and unwieldy. Our marriage was put to the test as we manipulated forty-five 2×4’s, a few odd 2×6’s and fifteen boards up five stairs, through our front door, then a U-turn right back down to the basement. Richard wisely purchased two bright orange panel carriers to make the trip slightly more manageable. But you should have seen us going around corners and down the stairs yelling out commands. By the tie we got into the double digits, we had it down to a science, leaving not one scratch on walls or furniture.
That would happen later.
sous-chef of the booth build
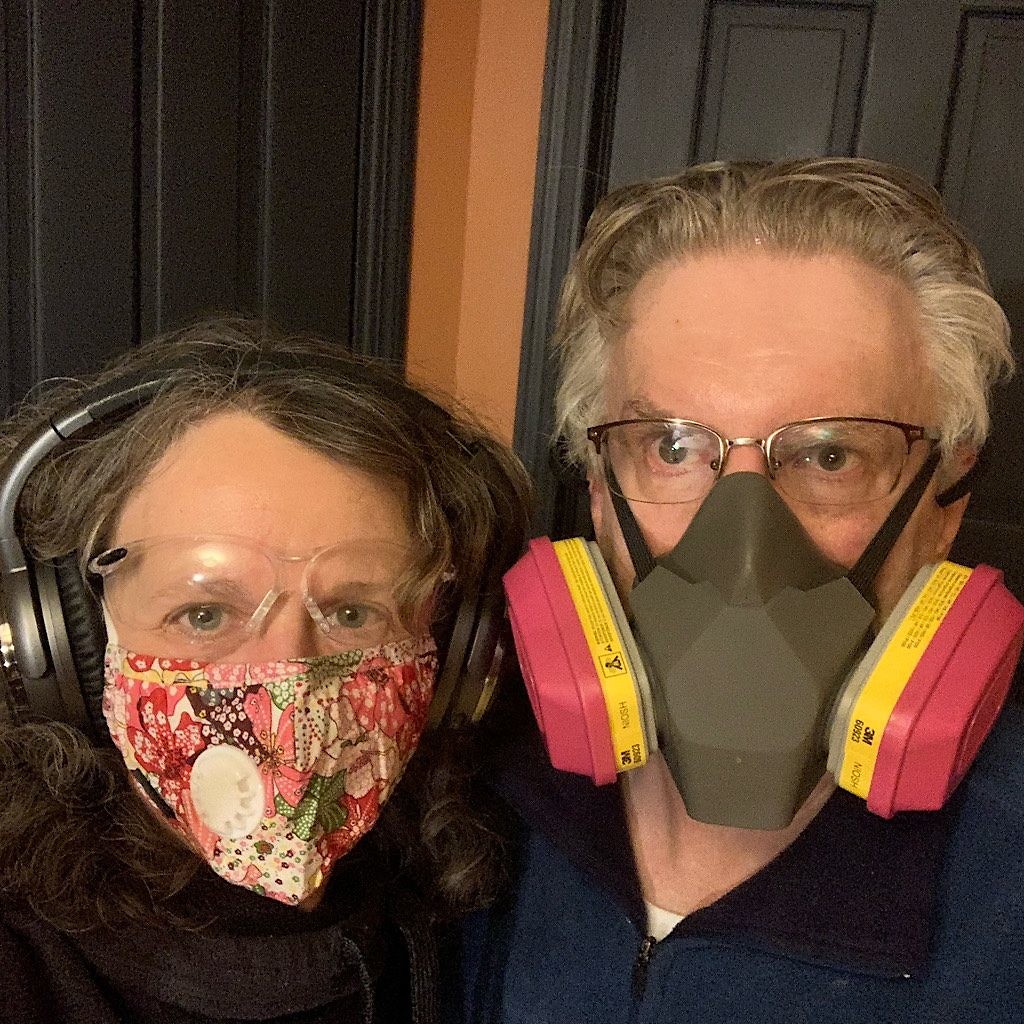
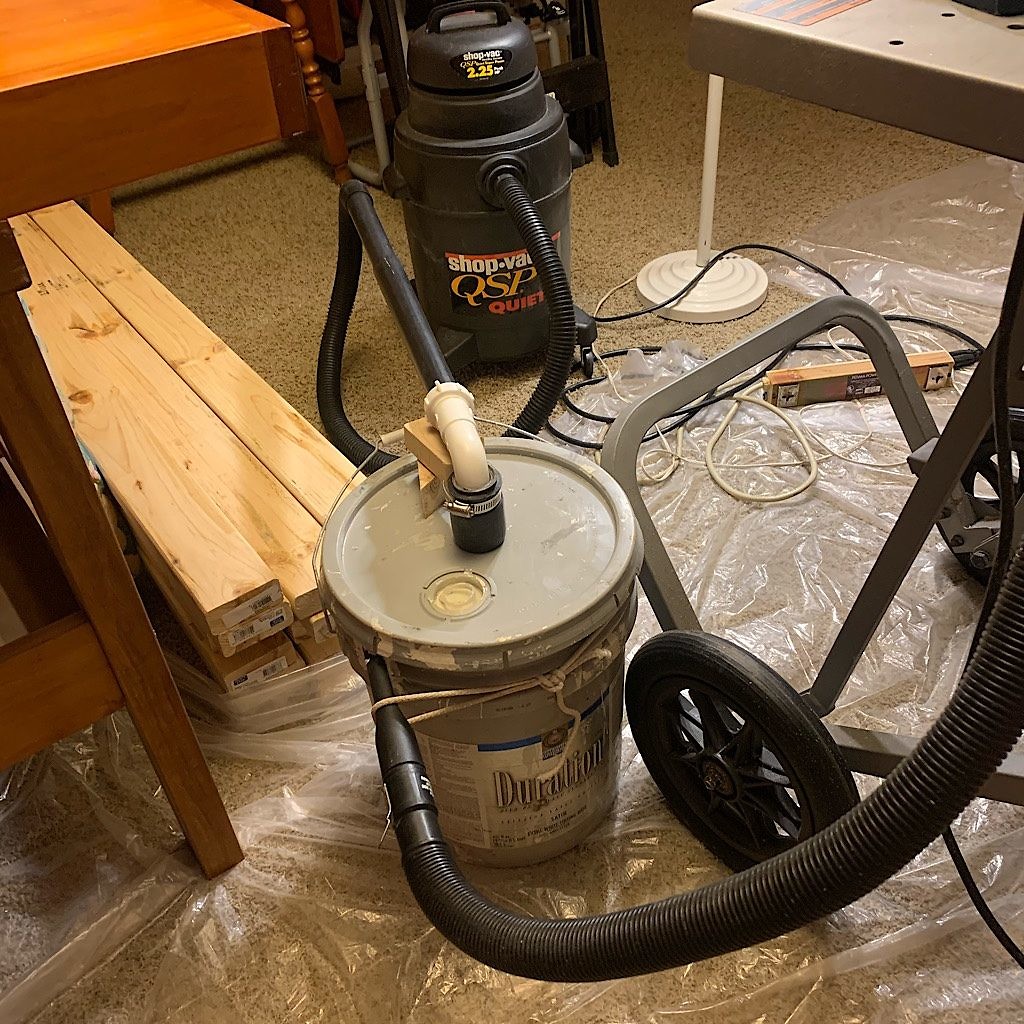
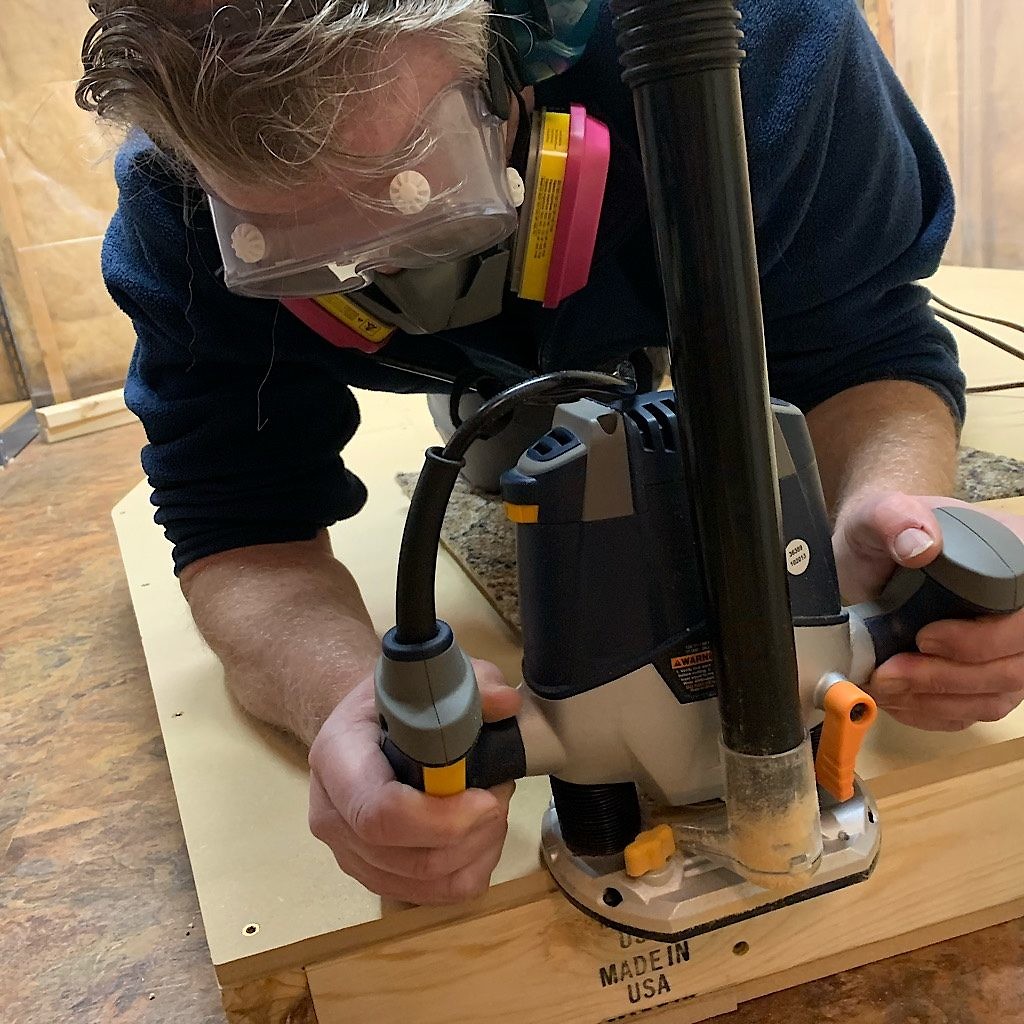
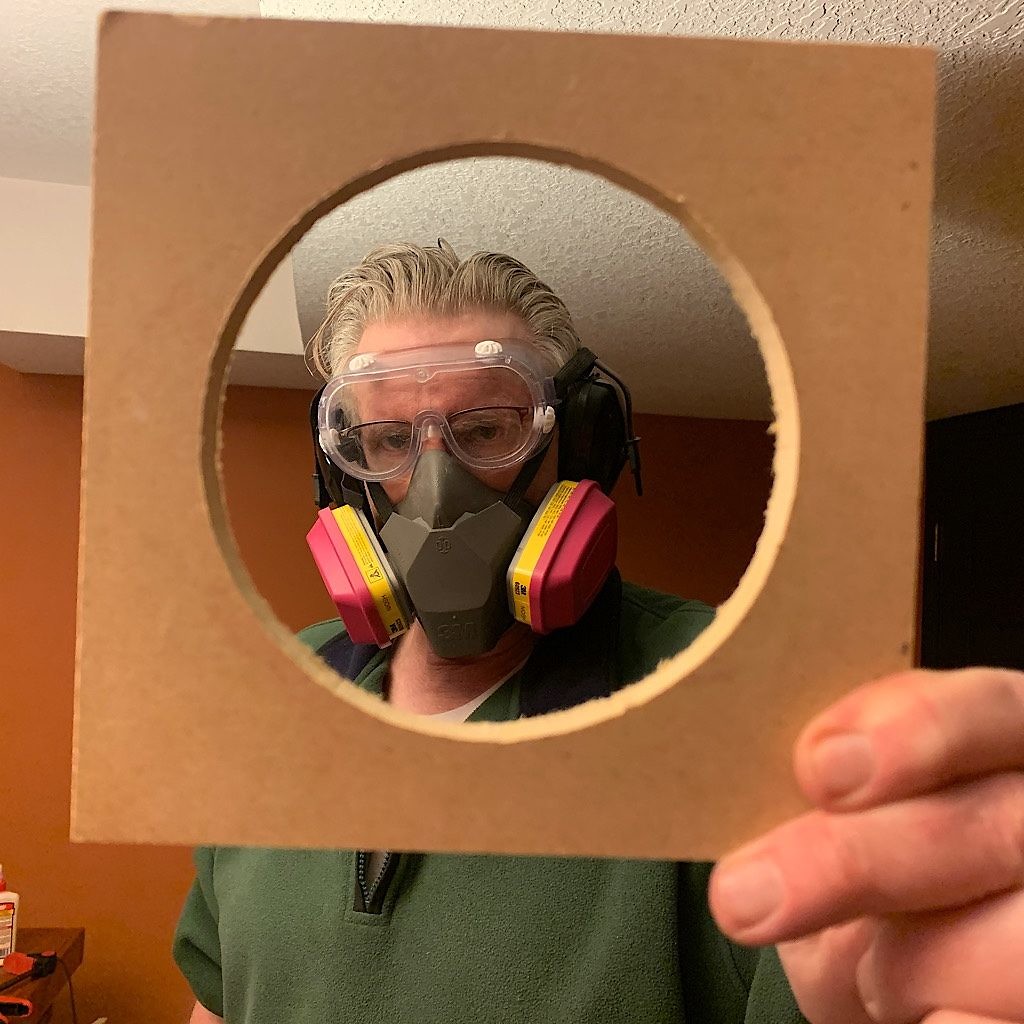
To create a work room, we took apart the guest beds and piled up mattresses, hiding everything under plastic. MDF creates a toxic dust that can get work its way deep into your lungs, so Richard got himself a nifty deluxe mask and I used the one my friend Sarah bought for me to manage the smoke from wildfires on the Pacific Crest Trail. (I use it nowadays while shopping) Richard demonstrated his McGyver skills fashioning a bucket and set of hoses to sift most of the saw dust out of the air before going directly into the vacuum cleaner.
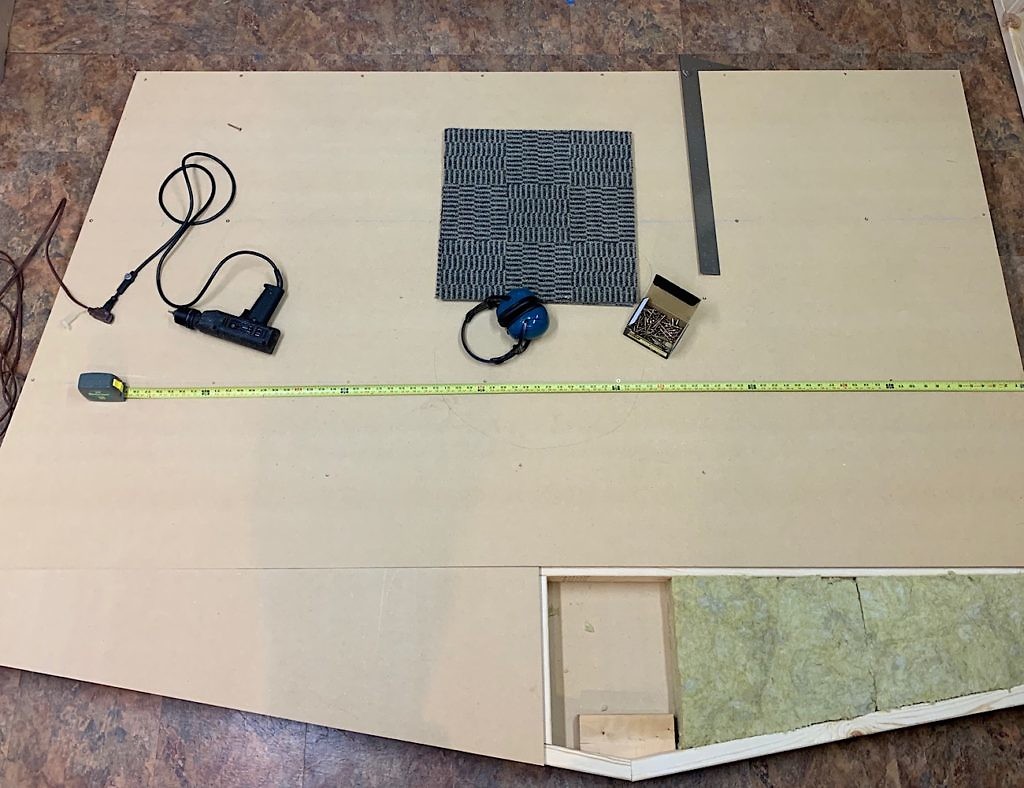
Logically, the floor was the first build turning out as like the Crooked House inhabited by the Crooked Man. Under the frame was the first sandwich of MDF board, carefully routered along the edges. Richard carefully calculated where he placed each screw, since we couldn’t see them once we turned things over. Smart guy, huh?
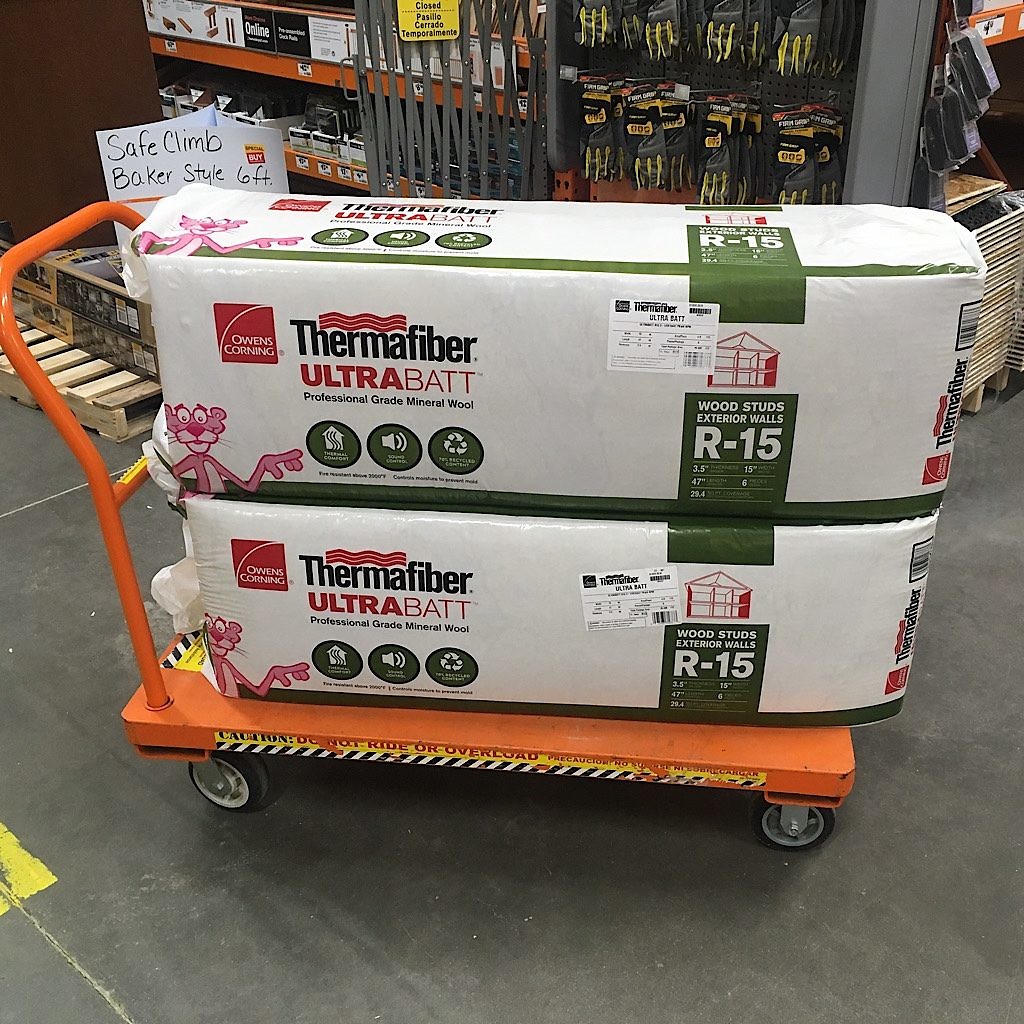
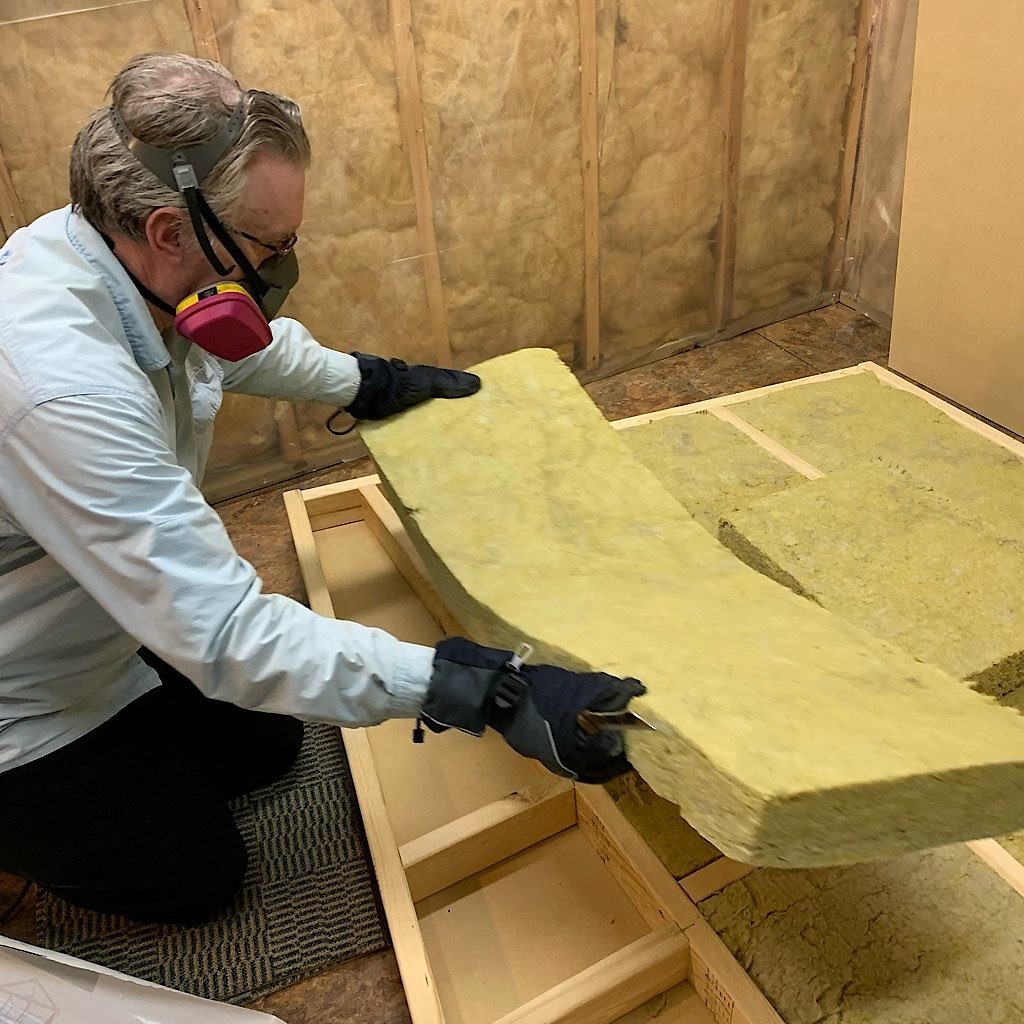
Rockwool is a sound insulating material literally made of rock, basalt in this case. It’s packaged in the same long rectangles as regular insulation, but contains no glass. But that does not mean it’s not messy, dusty, and itchy. I ended up taking on most of the job of cutting and placing the batts, leaving more exacting jobs to Richard. The main reason? Because I was terrible at those. Call me the sous-chef of the booth build, I was the best fetcher-of-items, holder-in-place of things and one-more-trip-the-hardware-store sidekick.
neoprene below my feet
Once we had that floor worked out – placing a few braces in the middle where I would likely work most of the time – the project really started to move forward, at least in our minds. I would step up onto that solid box in my wool socks as snow fell outside and music blared in our snug little home, and imagine a microphone in front of me, a new career a real possibility.
But then I’d wake up to reality that we had a long way yet to go.
To help mitigate low rumble and vibrations, it was recommended we place a layer of neoprene rubber under the floor. I know the minute I said neoprene, you thought of SCUBA diving. Wrong! The kind we needed is not the closed cell rubber used in playgrounds or wetsuits, but a solid chunk of rubber mainly used on bridges and other construction. As you might imagine, neoprene is not cheap! We searched and searched for a good deal and in the process also discovering it’s not easy to come by in small quantitates.
Since we weren’t building a bridge, we put this off until the last minute, which had just arrived. And suddenly, out of nowhere, the voice booth build gods looked down on our plight and smiled. Richard stumbled upon a Craigslist ad selling 3/4 inch industrial neoprene by the three-foot square piece and at about half the cost of retail!
To negotiate this transaction would take many unanswered emails and phone calls until we finally tracked down the seller, a contractor based in about the furthest western corner of the Metro before North Dakota comes into view. Richard headed out alone one snowy night after work, finding a single man and his pickup on an empty and windblown construction site. This might have ended badly, but the man had already gone to the trouble to separate out our six squares of rubber, each individually wrapped like something consumable in plastic, smelling like new tires.
The guy even helped load them into the hatchback.
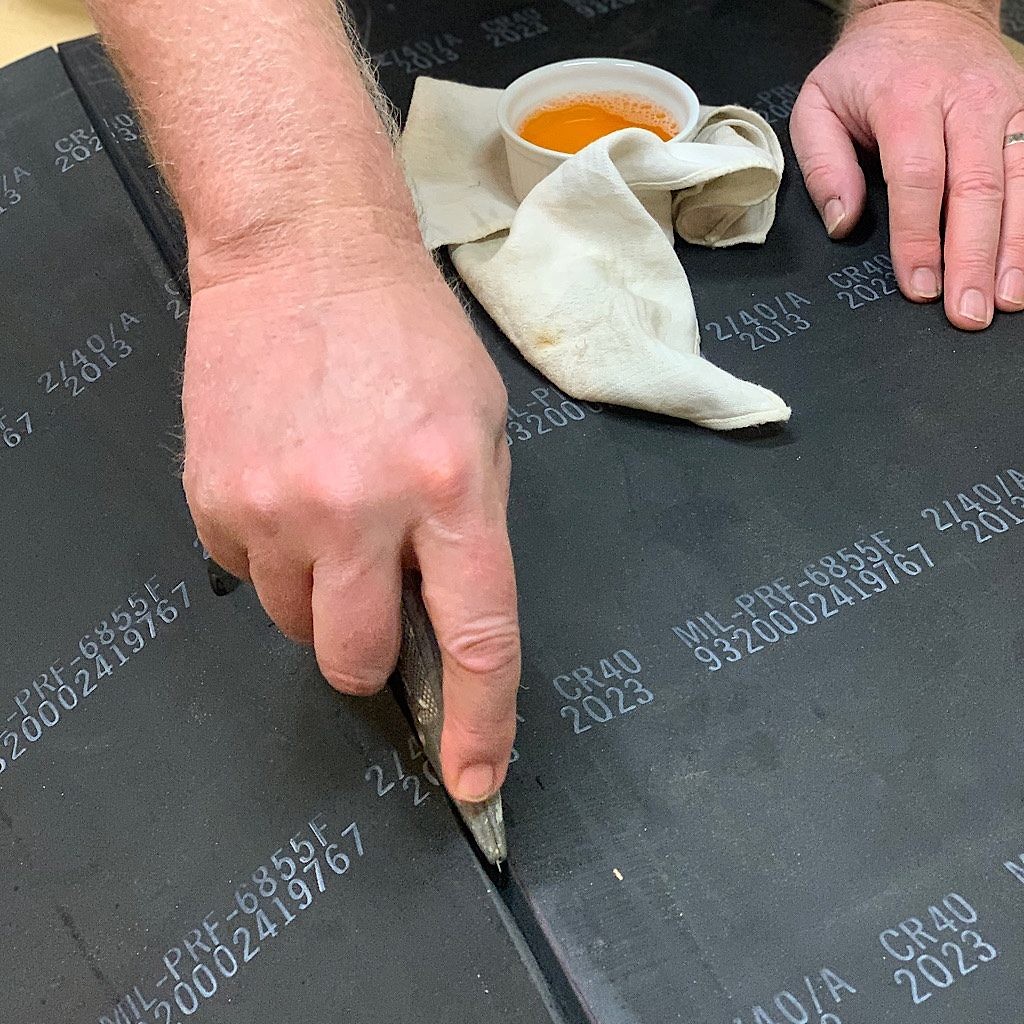
Too bad he didn’t hop into the car and join Richard for the 45-minute drive home so the the goodwill would carry on and the squares would magically find their way into our basement workspace. Heavy and slippery, they flopped and buckled threatening to pull us down with them. So it was deliciously satisfying once we had them in place and took a box cutter dabbed in Dawn liquid soap to them and they fell apart like butter.
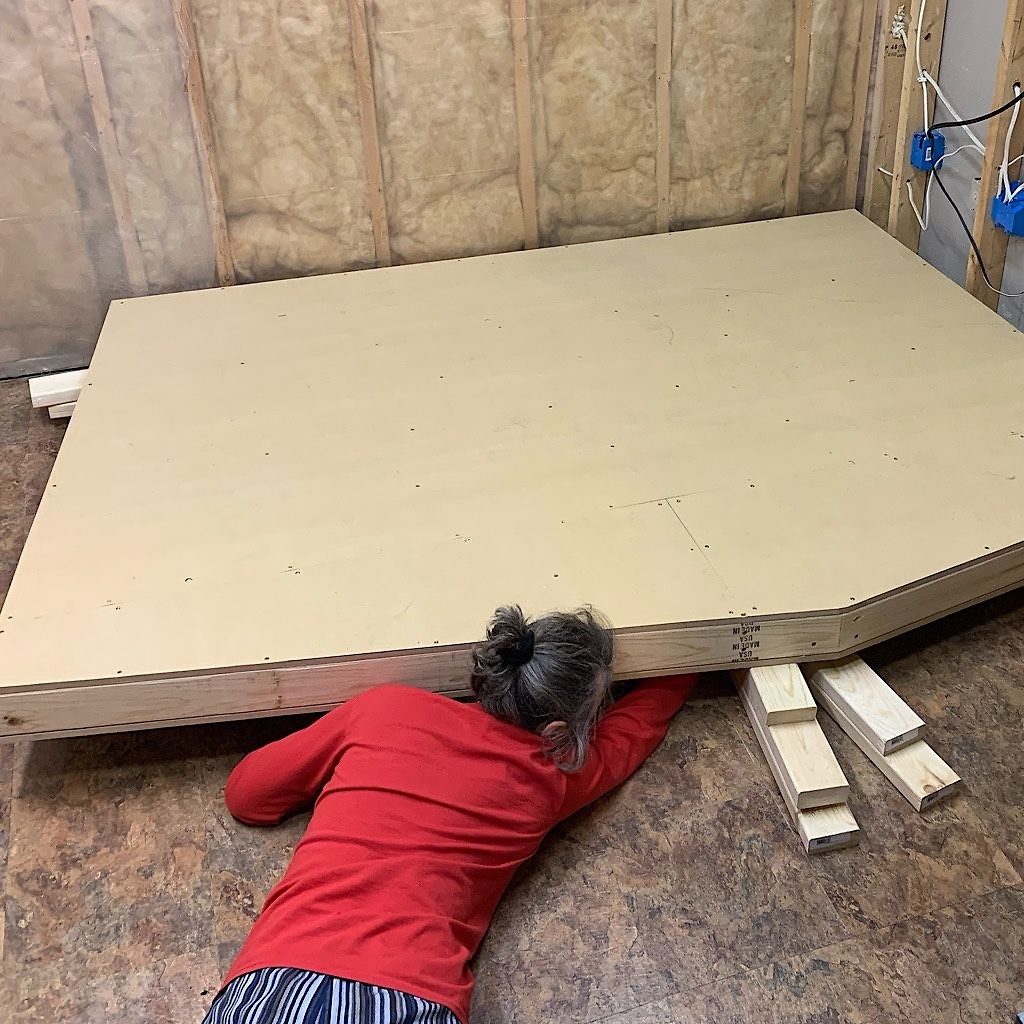
Needless to say, it was not easy placing the rubber under the floor – right , I know, we shoulda done that first! But that was not feasible since we needed to move the floor as we built in order to make room to drive in the screws. Rubber does not move easily. It grabs, stutters and even weeps slightly when placed against other pieces of rubber. Also, our cuts were not surgically perfect. Still, we still managed to get them all in line with no gaps before placing the very heavy finished floor on top of the rubber.
In precisely the wrong place.
NO!!!!
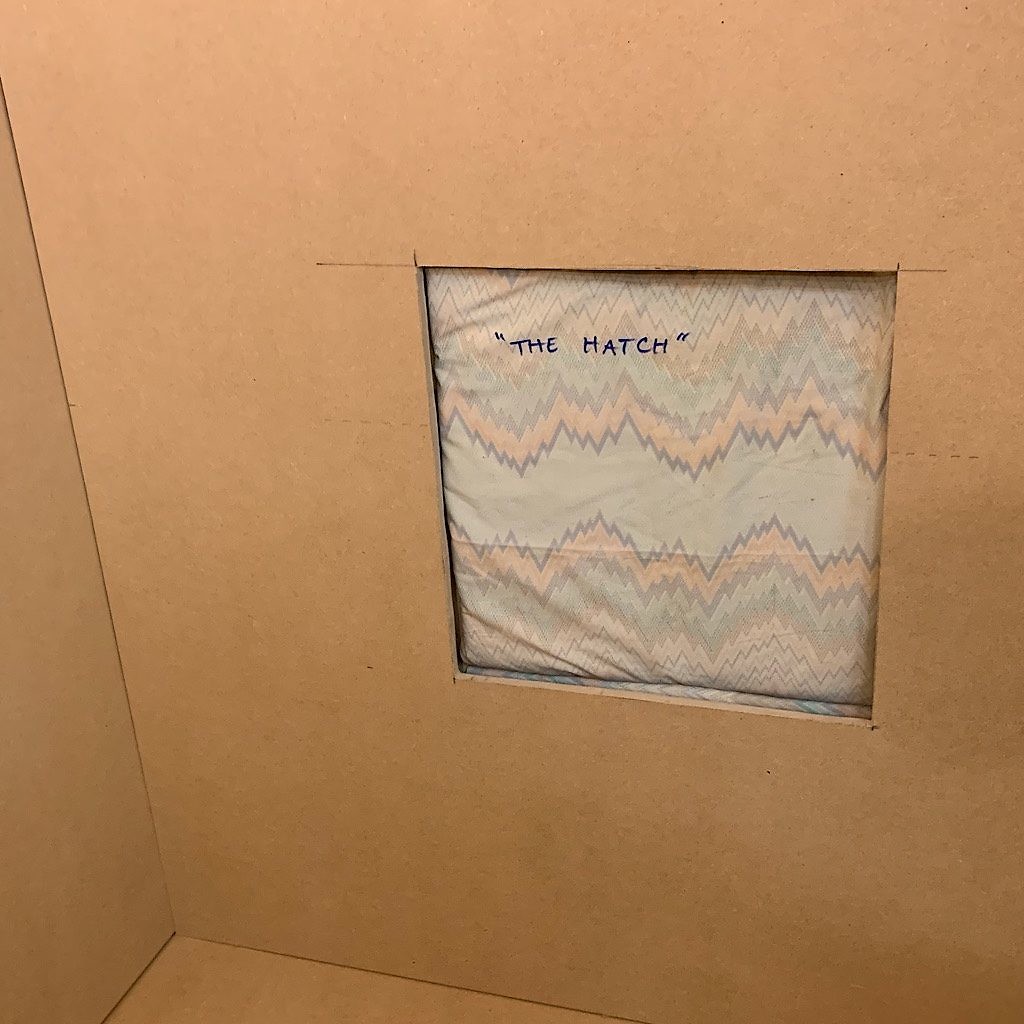
Yes.
We underestimated the gap needed between our basement wall and the built floor. The floor came up and out, each rubber piece forced into a new location approximately three centimeters from their first location, but exceedingly important three centimeters.
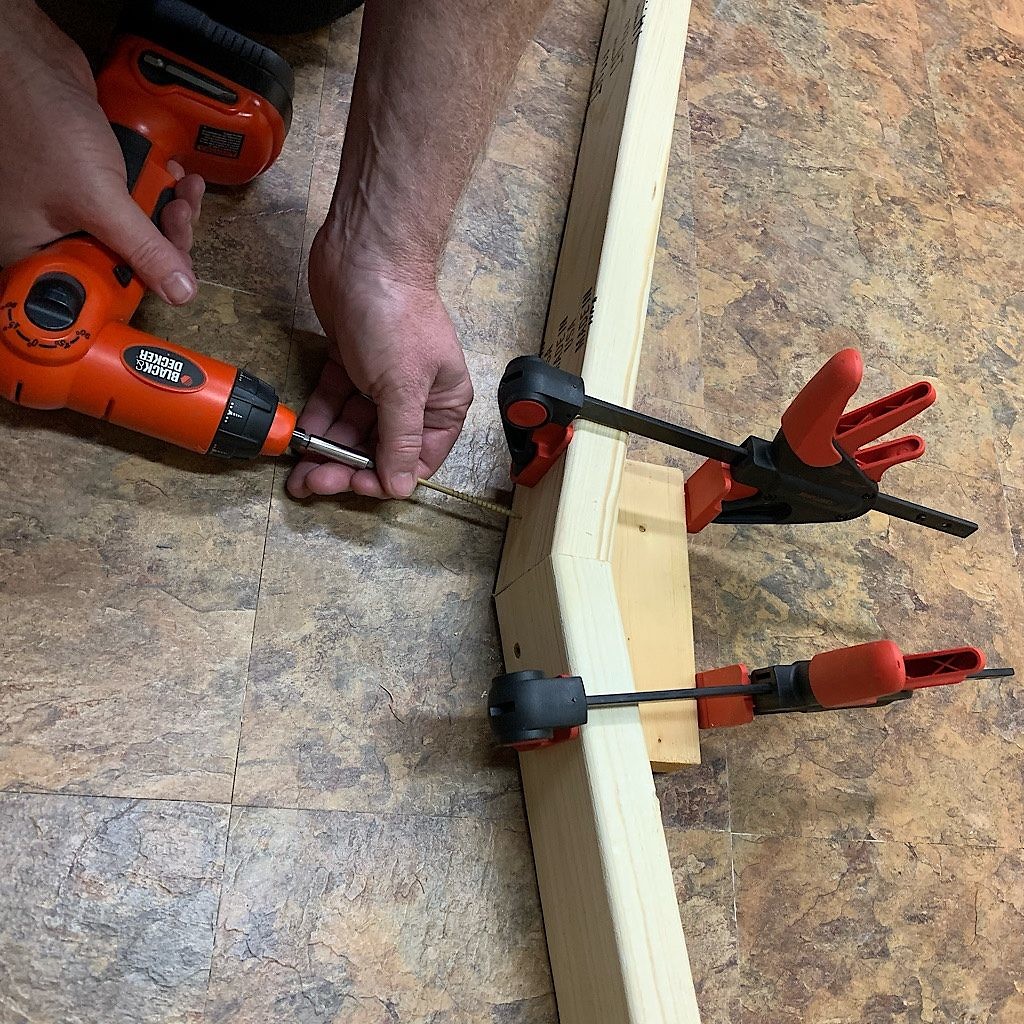
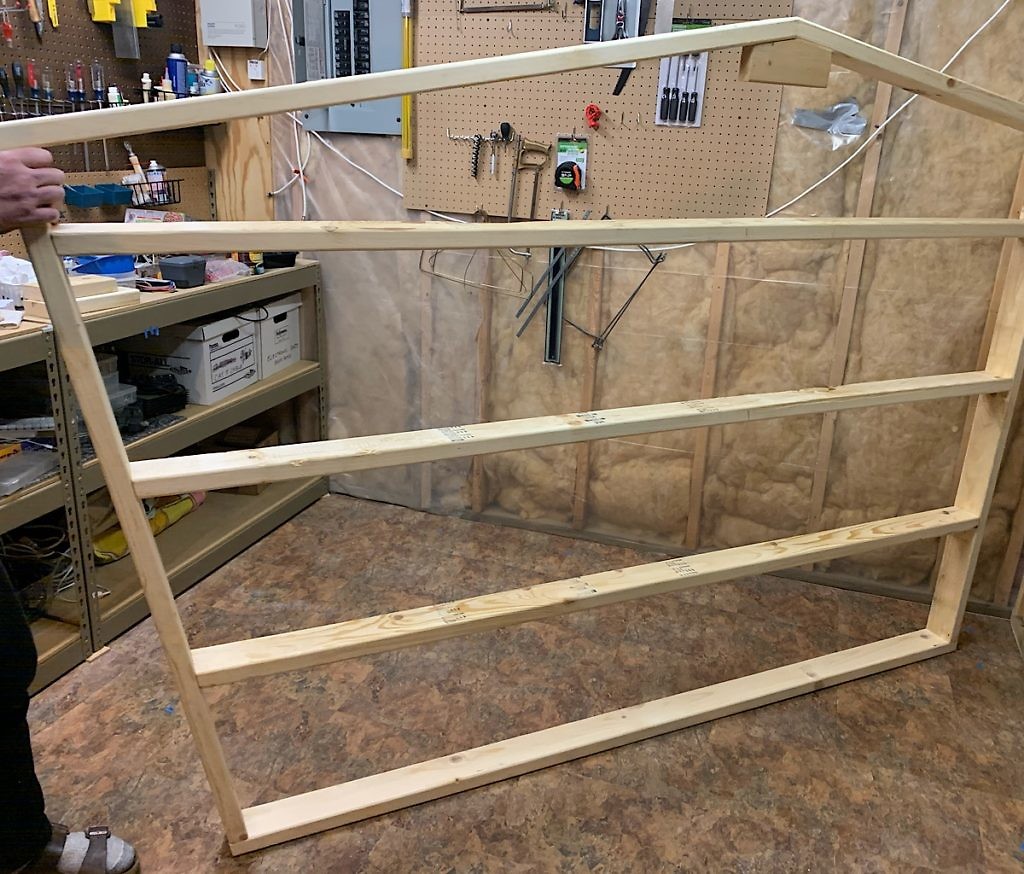
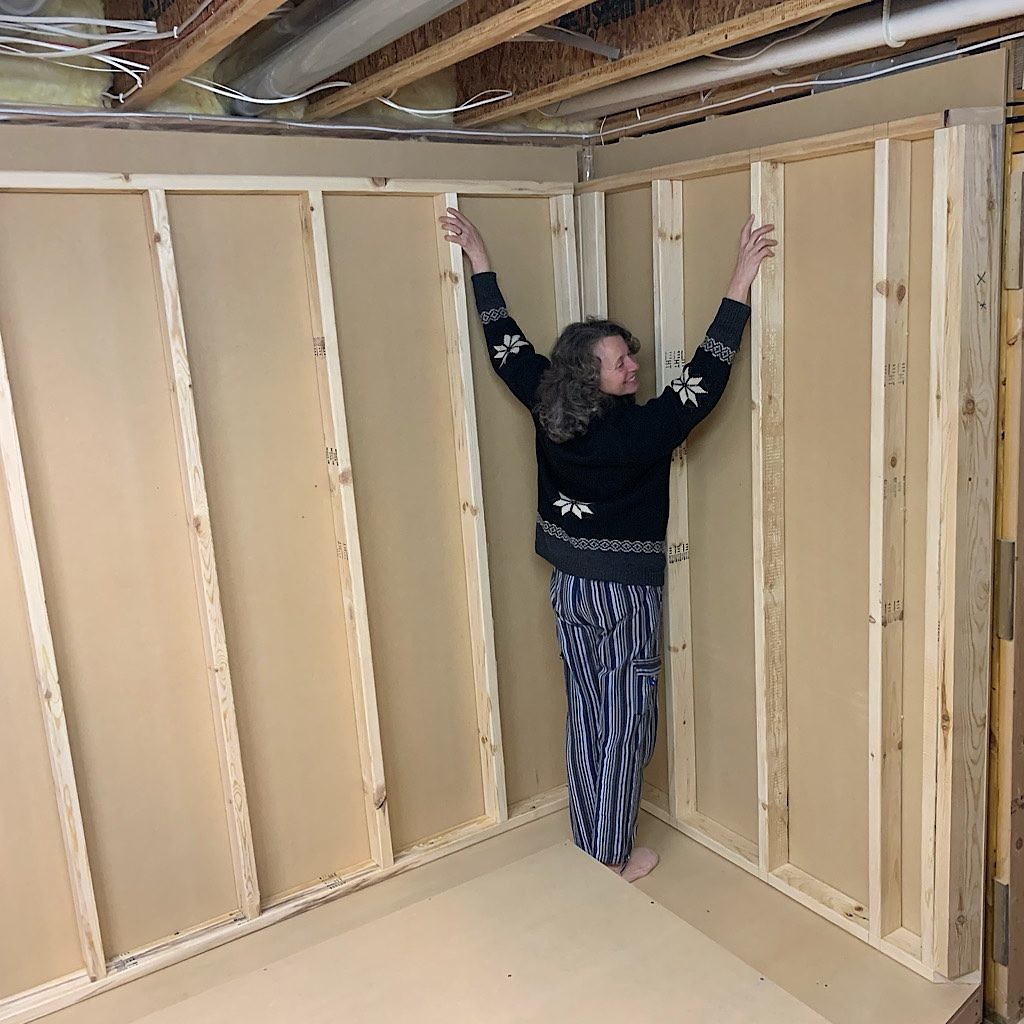
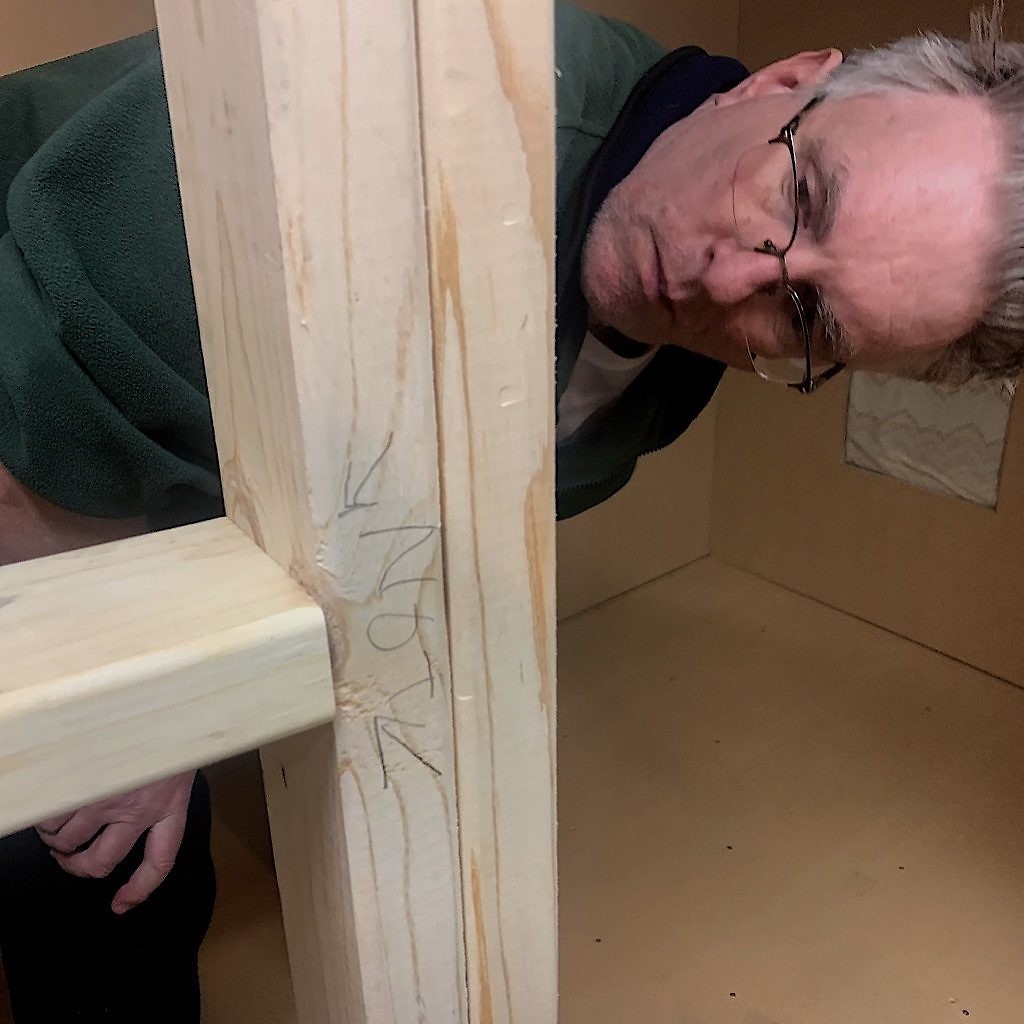
After the floor was in place and we had recovered – usually aided by a little gin – we built an exact replica of the floor “sandwich” as the ceiling “sandwich.” All I can say is it went faster – as did the walls. There’s really not too much technique to building stud walls, except for that one tricky detail of needing to cut odd angles. On top of that was insuring everything fit exactly without any gaps.
so many saws, so little time
What I haven’t mentioned yet is what it was like sawing together. You know what they say about couples that saw together? Oh, I don’t know. Let’s just say that we got better and better at this as we went along too. To create a work station, we lined up two tables – a long Colonial-style knockoff from my mom and a sweet little side table I bought a hundred years ago when I lived in Memphis.
Concrete blocks created the angle required to catch boards as we fed them through the saw so they wouldn’t bang down and jostle the table or even, goddess forbid, topple the saw itself. But for that. we strategically placed more concrete blocks so its wee metal table was secure when we fed these monstrous 4×8 foot boards through.
The very first time Richard and I suited up with headphones, eye protection, face masks, the vacuum cleaner squealing a half pitch higher than the saw, I grabbed the board as it came through, thinking I was helping keep it straight. Richard must have had the same thought as we pulled against each other, making a lovely wave of cut. Lovely, but too uneven to use, as it turned out. When the board jammed slightly, I panicked, yelling over the din for Richard to turn off the saw. Easy to do with a cock of his hip. Looking bemused, he explained my job was simply to guide the board.
We had a lot of boards to cut, and it would only be a matter of time before we found our rhythm. I should point out that we always took great care to be safe. This is serious business with a spinning blade that could take off a limb in a matter of seconds. And there’s this weird mesmerizing quality to it as it spins that somehow both makes it look harmless in its enticing blur, but also invites a finger to want to reach out and test it. I think the routine of carefully measuring, suiting up with protective gear, setting up the fence and the vacuum helped create a kind of mantra providing both of us a protective shell. We may have dinged and scratched the walls when we carelessly shoved lumber around, but we never hurt ourselves.
So, a miter and table saw. We also borrowed a hand saw and much later in the story the keyhole, coping, hole, rotozip, scroll, hack and electric miter saw make appearances. Does anyone really need all these saws? I ask. It appears we did.
If you build it, they will come
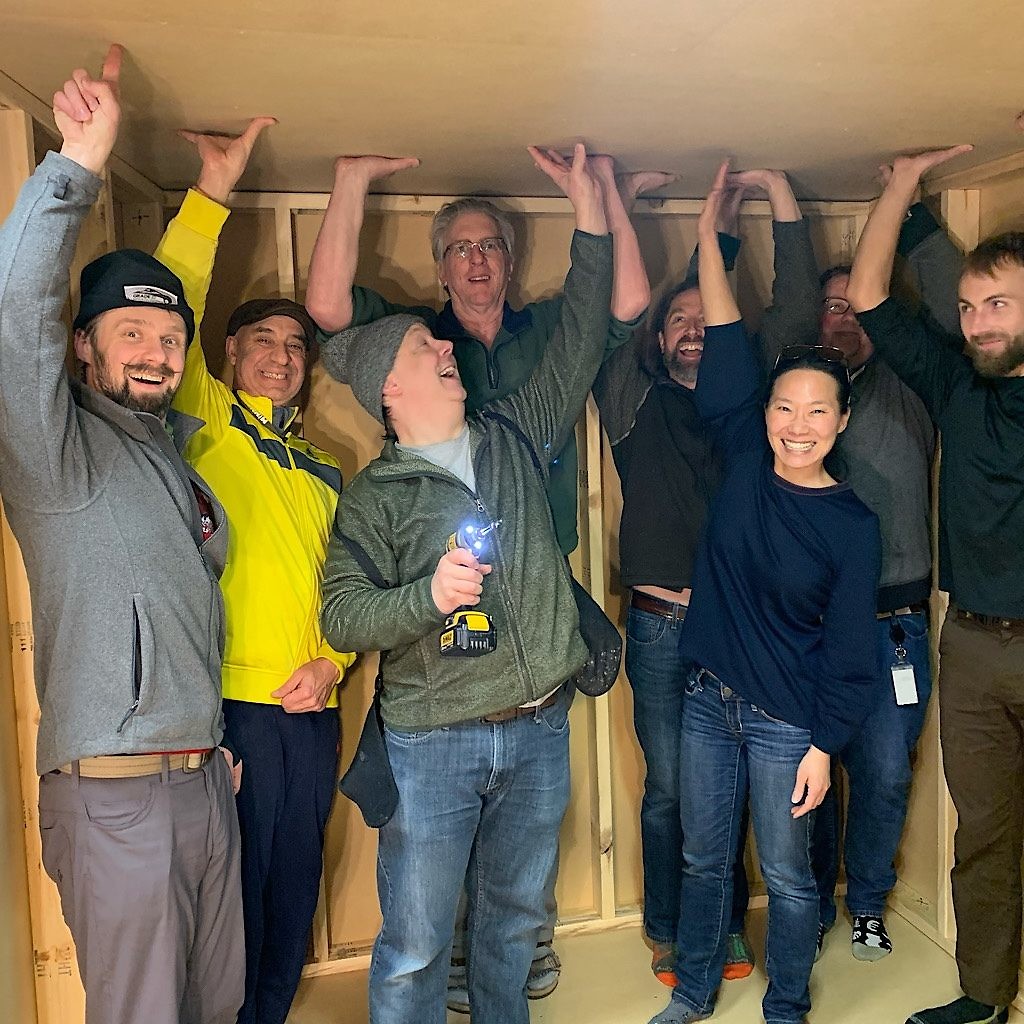
So they say. I contacted the toughest guys listed in my address book – both recording engineer and rock climber – to come by on a random Saturday to pop that heavy ceiling in place. I thought it would take a half hour or so and bought a couple of pizzas and a few six packs to reward a job well-done.
It took exactly ten seconds.
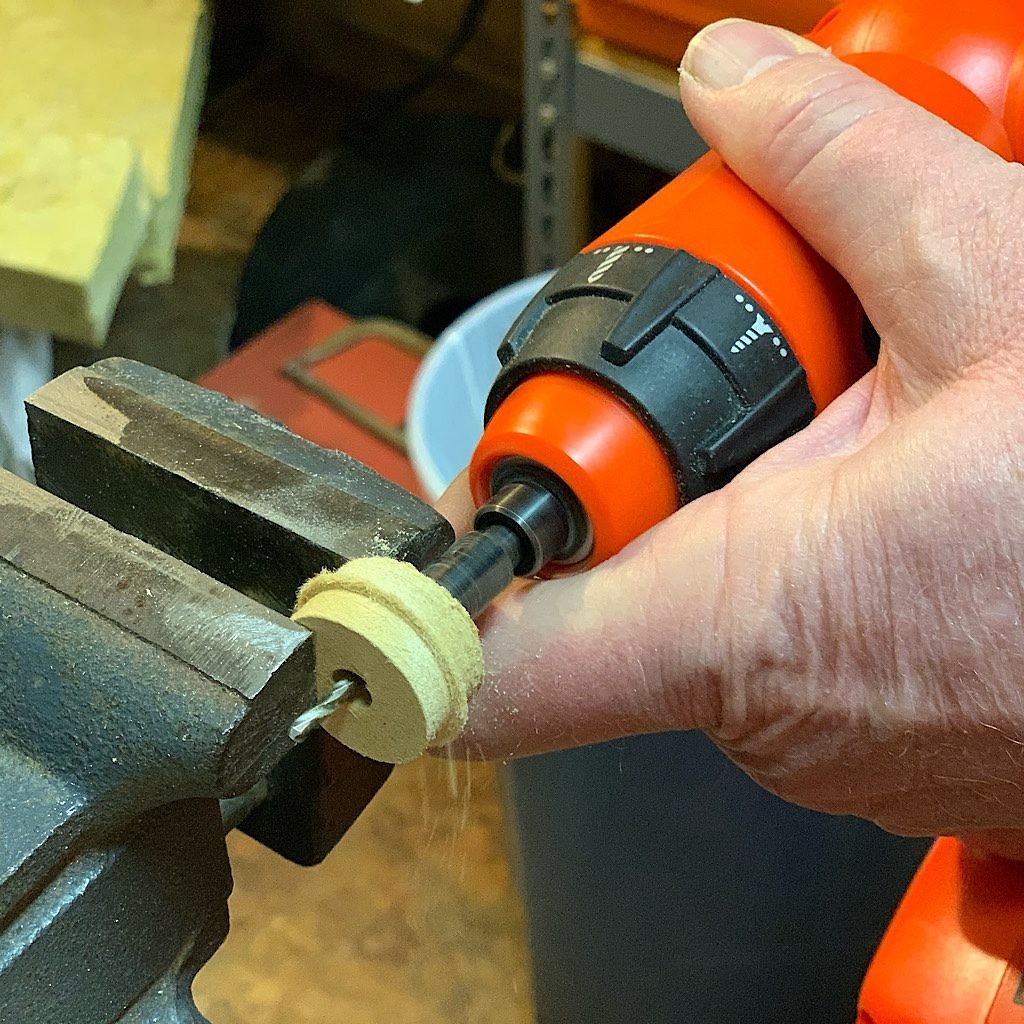
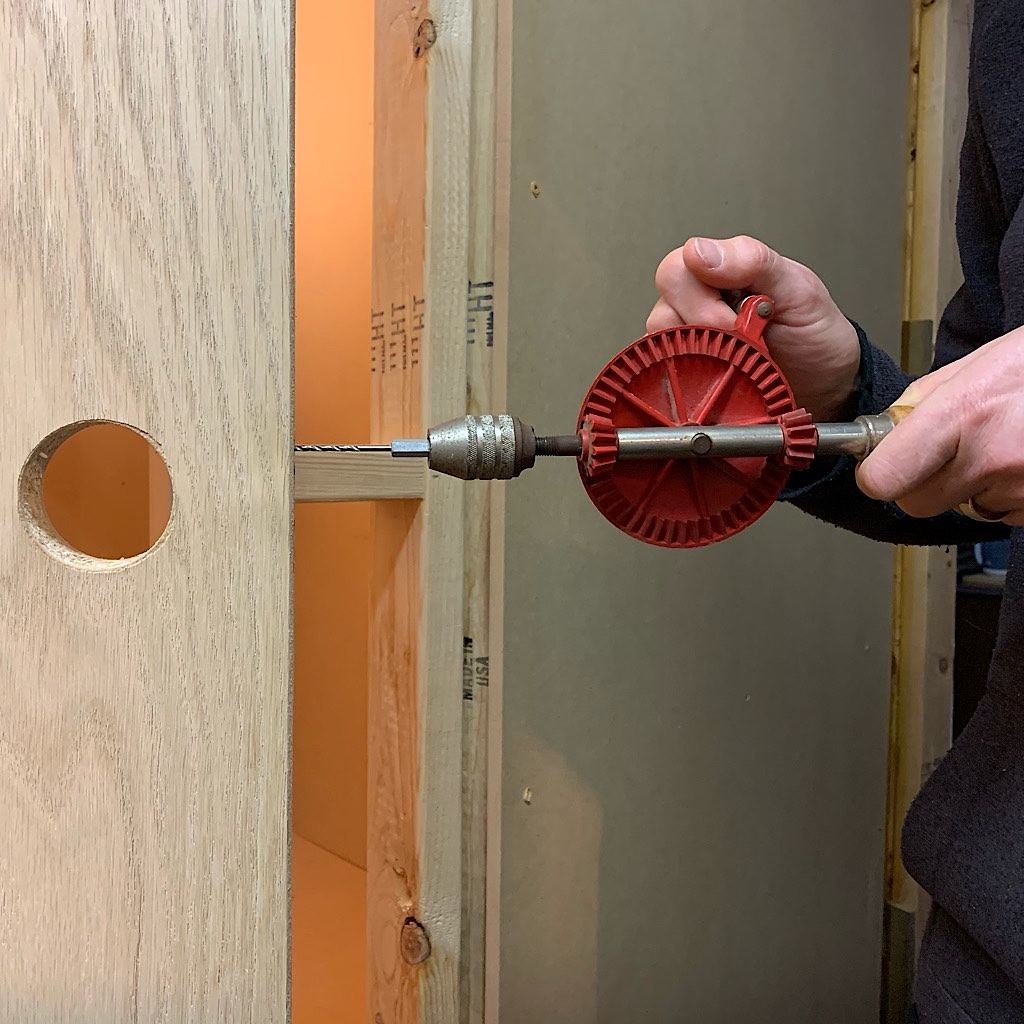
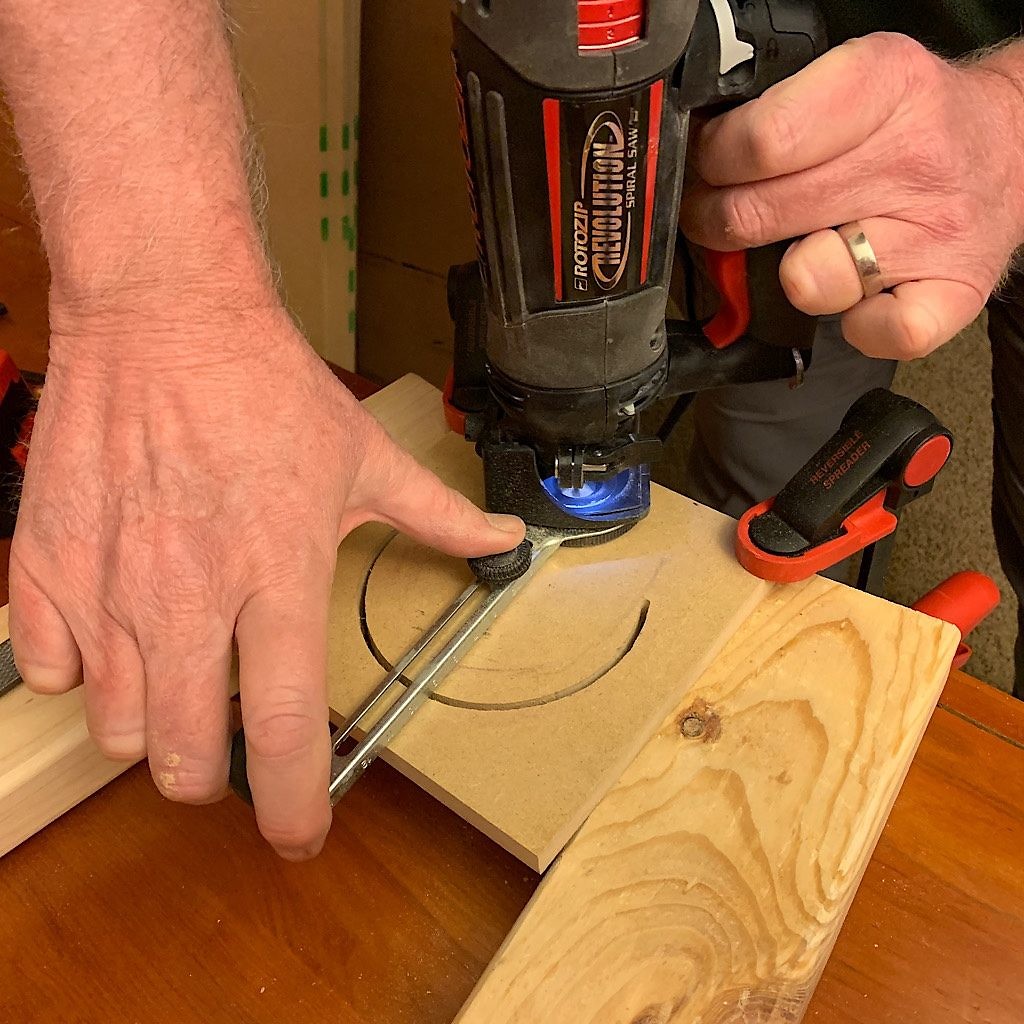
It was awesome seeing friends from my former job and talk shop, but once our helpful gang departed, we got back on the build. The next step was to wire the studio which was done through our ingenious “hatch” – cut with a scroll saw– then lined with a pillow-case covered piece of insulation, nestling cable ports Richard off-set with the use of a keyhole saw. A few weeks later, our friend John came by and we set him to work making frames for our interior sound panels. This was my first time using a drill and I got pretty good at that too! John was officially my assistant, though truthfully, my best teacher. The hack saw made its brief appearance at this point before I hung her back dejectedly on her peg and taught myself how to use a miter to cut enough wood for seven frames. Just think how long it would have taken had I’d cut by hand!
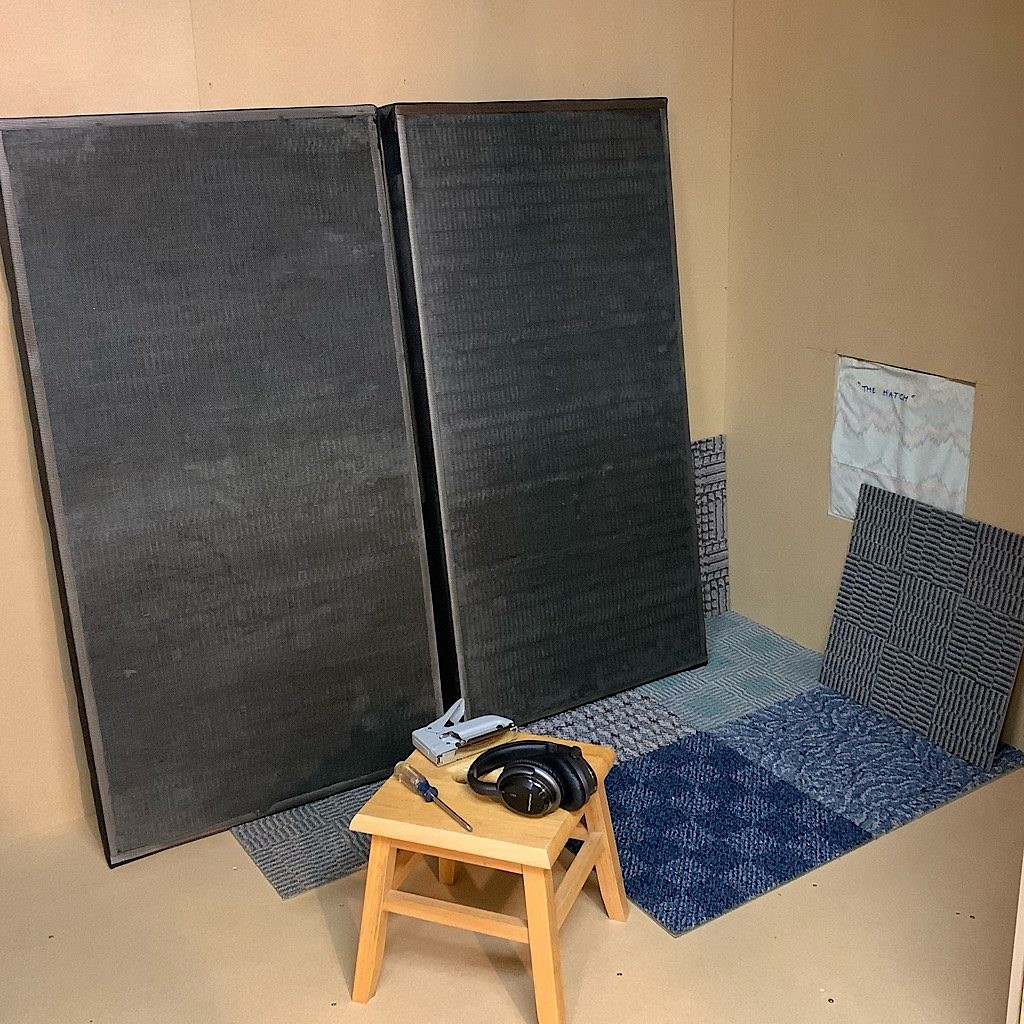
Another friend, also named John, gave us leftover acoustic boards from his own studio build which we covered with a kind of netting I found at JoAnne Fabrics. We considered acoustic foam, but our engineer friends pointed us in the direction of insulation. Their job is to soak up sound waves and give the studio the dead, non-reverberant quality needed to record voice. This is the reason I covered them with a netting that’s porous, so the sound gets through into the board. Frankly, cloth is not required but it makes things look better and keeps any insulation brushing off onto my body.
Another friend named Eric set us up with his church friend who just happened to be in the market to unload some theatrical curtains. We combined this fabric with the panels to tune the studio, trap bass sounds and not only remove reverberant sounds but add some warmth too. The studio is so quiet, I can hear my heart beat. It is like a tomb. But I like tombs.
a satisfying click
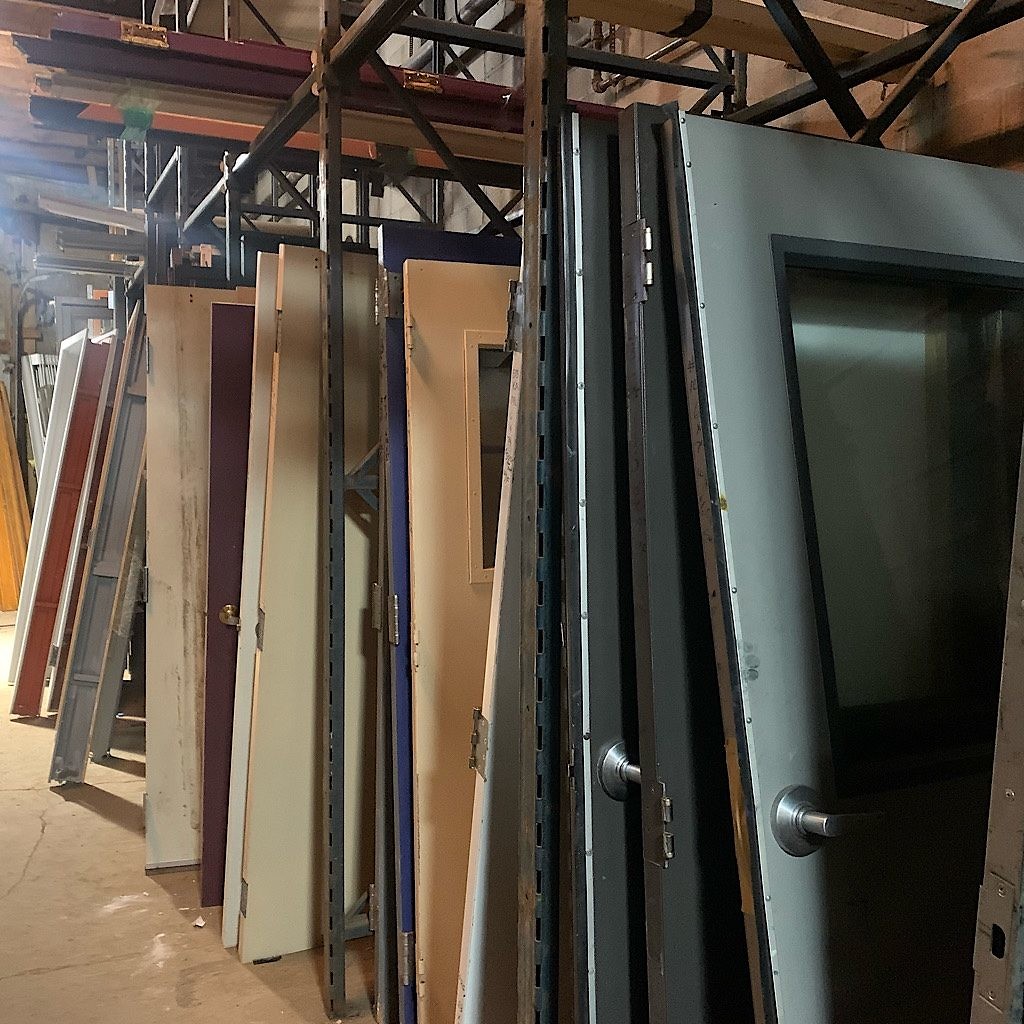
But I get ahead of myself. At this point, we didn’t have a door yet. We tried out Bauer Brothers Salvage one crisp sunny February morning. Somehow we both thought we’d be inside so brought only light jackets. It was positively frigid inside and we moved fast, clapping our hands together and rubbing shoulders to keep warm as we wandered five sprawling floors of stuff – entire sections of windows, massive bars and diner booths, nobs and baubles and, what we came for, doors. Lots and lots of cool doors, heavily stacked like dominoes, but most requiring metal frames and frankly, priced too high.
We headed to Menards and settled on a solid oak door “drastically reduced” due to a few dings. I could care less about dings and so we took it, along with a latch assembly and headed home. It would take hours days to frame studs up to the frame assembly that came with the door then insure the door actually closed with a satisfying click. I closed off every gap by stuffing strips of an old army blanket and searched high and low for just the right weather stripping for the threshold. We created mini curtain rods to cover the inside of the door, but I couldn’t be bothered to sew any hem and instead pulled out my stapler and it worked beautifully.
The proudest door addition were Richard’s flanges he built to close off air gaps – and therefor sound entering gaps – around the door. It looks like a bank vault. And his little pulley system to draw the hinge-side flange to close along with the door is pure genius. Check out this demonstration. Pretty cool, huh?
works-from-home
Many years ago, way before we were a couple, Richard’s brother found a pile of high-end carpet squares in a dumpster. He rescued the lot, and they have traveled with us for eighteen years of our marriage. Useful and cool looking, we’ve protected the floor from computers, furniture, wet boots, kayaks and now it was time to use these groovy designs carpet the studio.
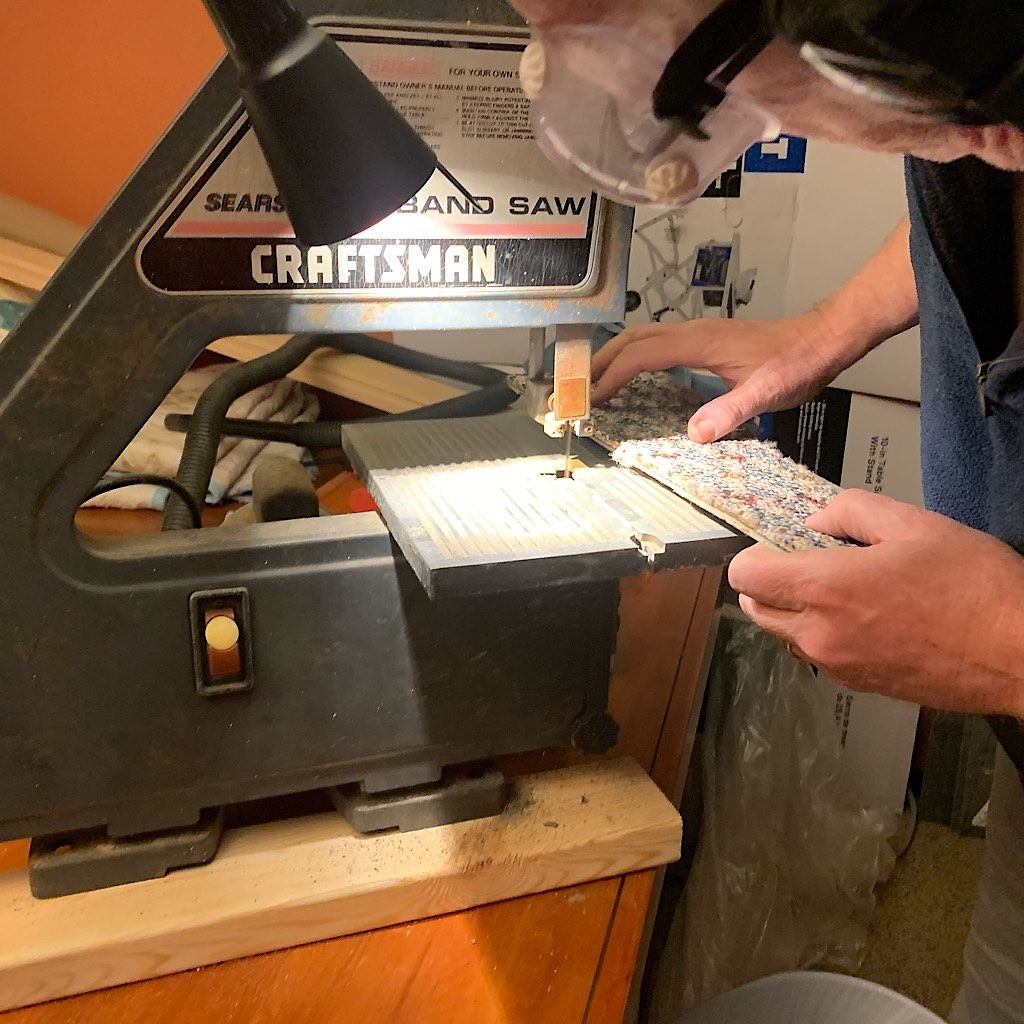
Richard exhibited prescience introducing carpet squares into our marriage But how was I supposed to know he’d also carted along a saw, one he’d kept hidden among other manly odds and ends out in the garage, a saw specifically for cutting carpet?! And here I was trying to gnaw through the squares with an X-acto, getting absolutely nowhere before he solved my problems by presenting me with a band saw. That rusty old thing lasted precisely the time it would take for the studio’s odd geometry before giving up the ghost.
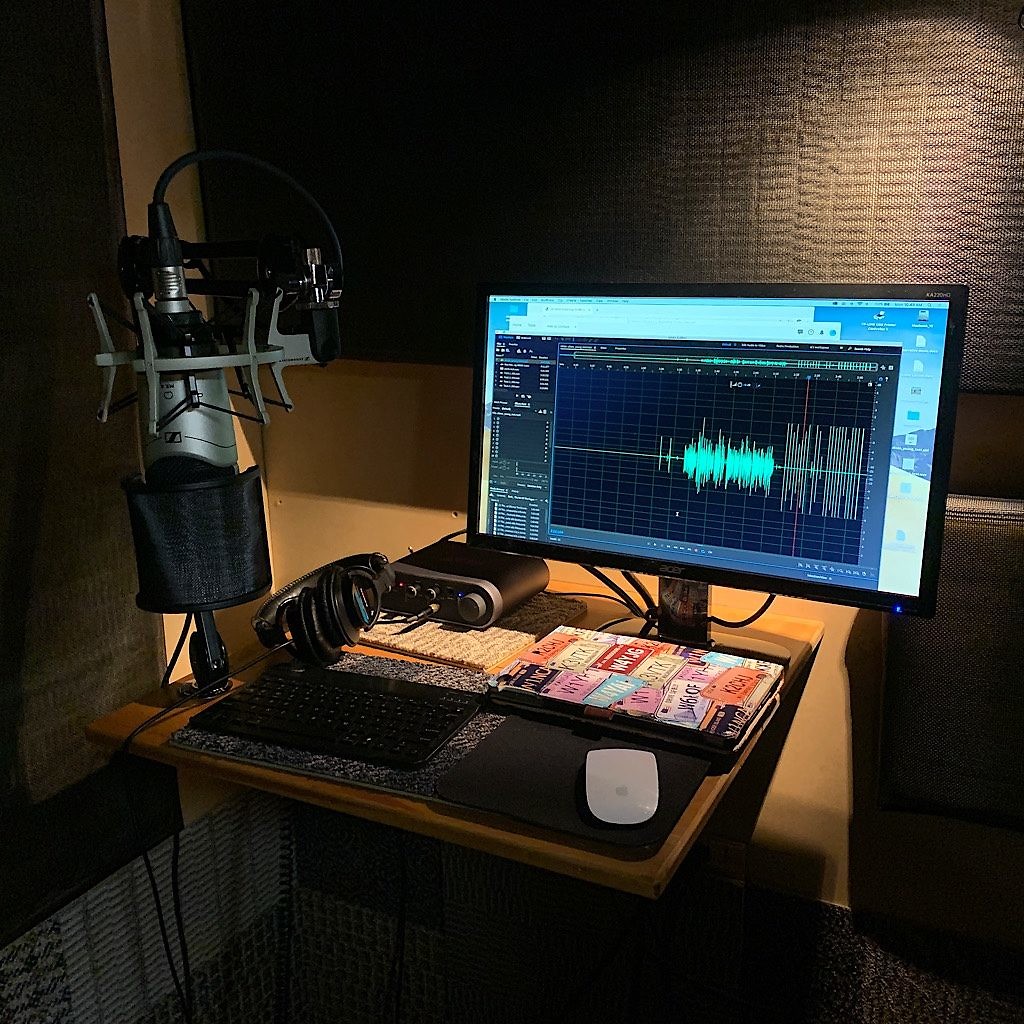
Next, Richard built a smashing little desk jutting right out of the wall for my recording kit to live on. Since it’s a bad idea to introduce any noise into a recording studio, I purchased a wireless mini keyboard and mouse plus a monitor screen powered by the laptop on my desk. I use a Sennheiser microphone with a shockmount attached to a RODE professional boom arm, rather than directly to the desk. This helps mitigate vibrations. The hub of operations is my Audient interface and I monitor what comes out of my mouth through Sony headphones. It’s all clean, quiet and professional. Richard even taught me how to wire my lamp to a switch we mounted at the entrance.
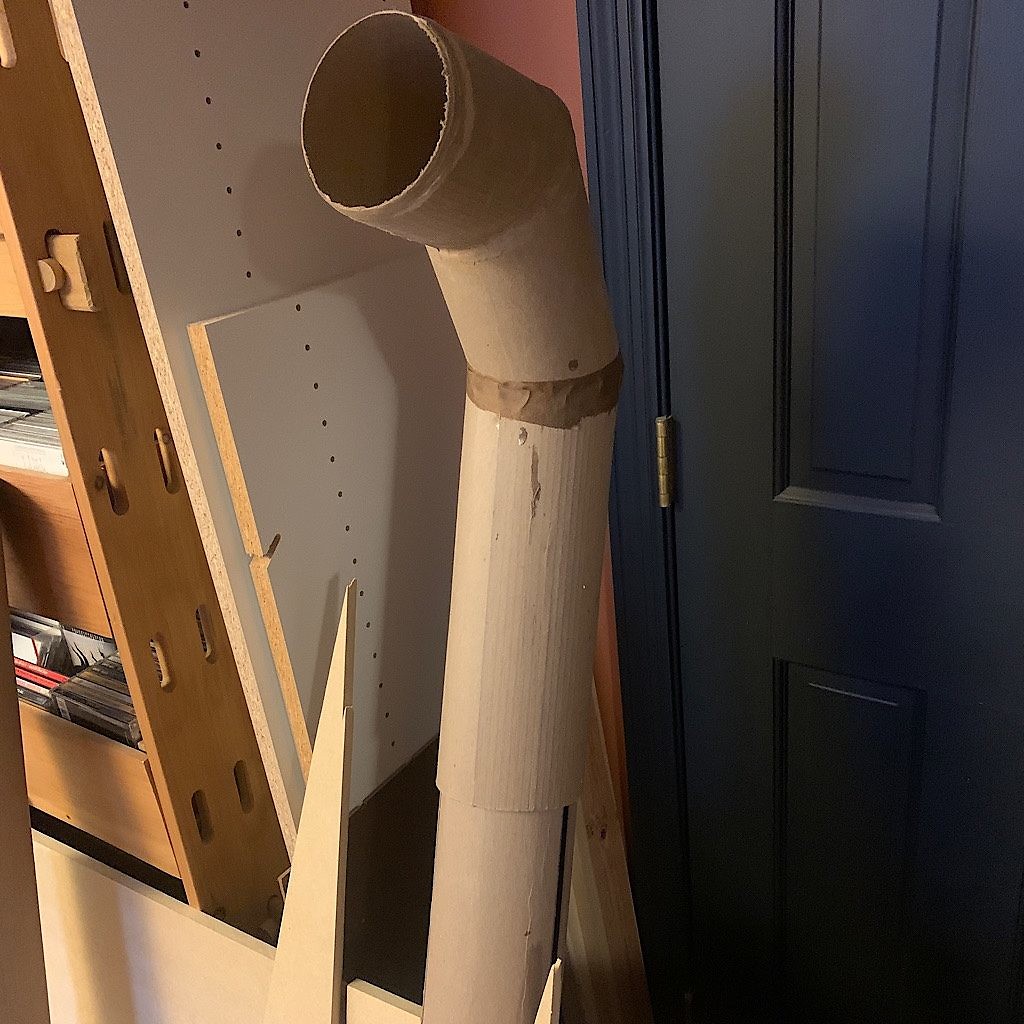
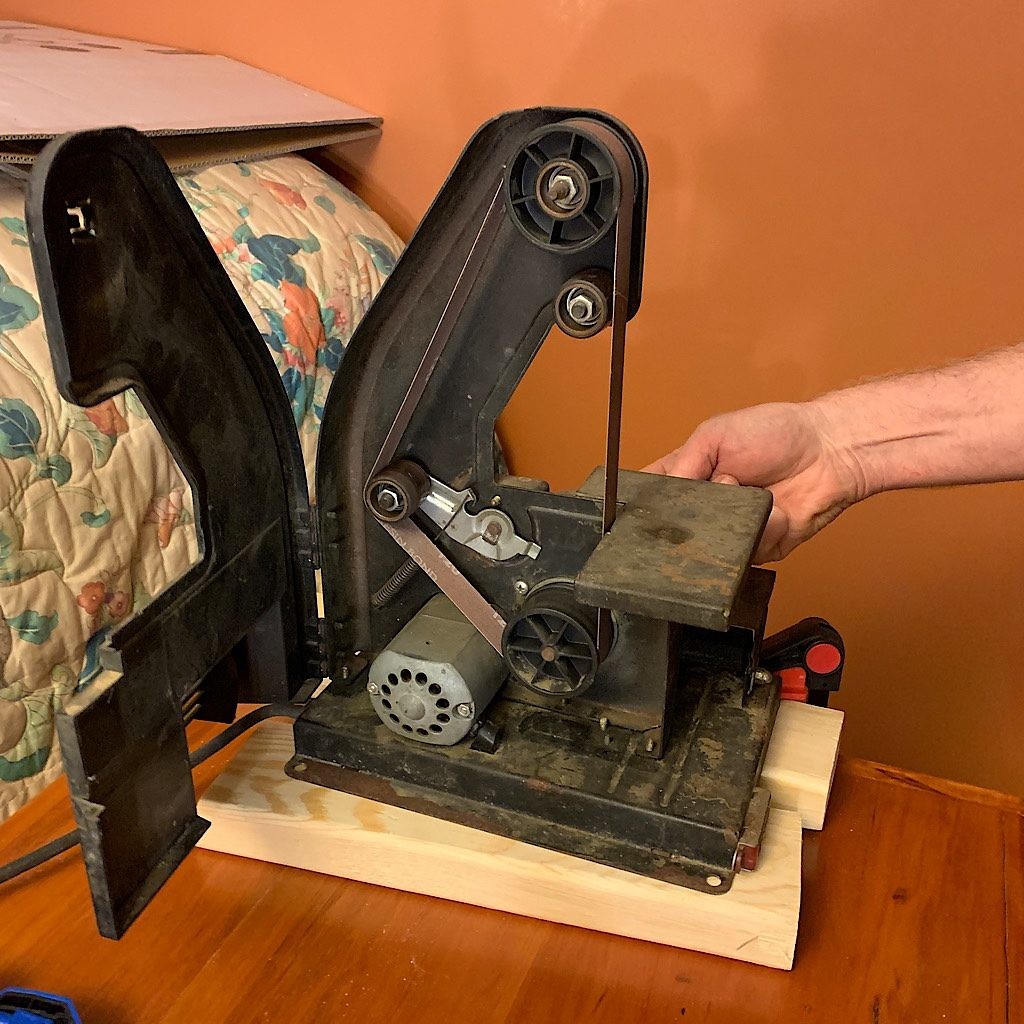
Early on, we cut holes into the walls in the back of the studio with the intention to create a ventilation system. Richard fashioned boxes for the air to pass through, though needing to find its way through a curving path, thus lessening the egress of sound. At the end of these boxes, he attached a tube that leads to two small, quiet computer fans. For this project, he introduced the coping and rotozip saws into the workflow and yet another rusting contraption, a belt sander which again appeared serviceable enough for the job at hand before sputtering, then dying,
We’re a bit stuck at this point, since we haven’t quite worked out the bugs on the air vent and the studio feels cool enough for now. Maybe it’s enough work for now and it’s best to leave the studio as a work in progress. She’s solid as a rock, quiet as a coffin, and inspiringly beautiful. She even has a studio mascot named Snapper looking on as I work with a wild grin. You’ll have to stop by once we’re allowed to stop by and meet him.
I’d really like it if you do.


30 Responses
What wonderful friends you have. That says lots about you and Richard.
I marvel at the changes in the audio world since I sat behind a microphone doing a weekly Boy Scout radio program 60 years ago.
we are deeply blessed! I had NO idea you were a DJ! cool!
A 15-minute public service radio show hardly qualifies me as a DJ, although we did play one song each week.
😍
Well, just to get me started, you two, Hearty, Hearty Congrats to you both on this milestone! I know already that your Blisstudio will hold much aural magic ahead. Joan and I will be eager to inspect the premises up close and personal one of these fine days when the timing is right. Again, felicidades! — LHW. P.S. BTW, I’m still intrigued at your retractable, rope-pull Thingamajiggie for the door hinge, and I look forward to watching that video over and over again . . .
ha! ingenious!! the Blisstudio awaits!!
Alison…..you two make good promos for Menards…and do it yourselves….
Thank God the work is done….blessings on you….waiting for podcast or whatever else you have for us….and….it stopped snowing….Zola
that’s a cool idea! I will send them (and Lowes and Home Depot) my demos!!
Amazing and you two did it all yourselves! Congrats!!
not entirely with friends loaning gear and helping us hoist the ceiling, but largely it was just us! Pretty cool!!